Tuesday, April 14, 2015

The Maple Hill Hop 76


Maple Hill Hop


Welcome to 
The Maple Hill Hop.
This is a hop for folks who love the outdoors.
Feel free to post about anything that's going on
OUTSIDE
in your neck of the woods,
no matter the season.
(Please share only outdoor posts.)
*Please link back to Maple Hill 101.*

Last week we talked about the task of creating three new veggie beds.
We've been exploring the edible landscaping idea,
intermingling food crops with ornamentals.
We decided to focus on the food,
and just use a few ornamentals around the beds.
We were able to tweak the second bed last week.


Here's what it looked like before.
It was a mess mixture of food and Florida-friendly plants.
The lantana and African Iris were relocated
to other ornamental beds.


The first thing I wanted to do was relocate the beautyberry (on the right),
so that the footpath could be moved over.
There's a big fir on the left,
and between the two of them,
the path was being obstructed.


Ah, room to breathe!
You can see some broccoli planted along the bed,
so I just edged the bricks a bit closer to it.


The beautyberry now resides next to the house,
so it too, will have room to branch out.
Once the berries start comin', the birds will be snackin' away!


The recycled teepee has been placed in the center of the bed,
where beans have been planted in front of it.
The eggplant was moved to the left,
lining another footpath.
The broccoli  now acts as a border on the front and right side.
I haven't yet decided if the liriope and parsley are going to stay put.
We plant parsley, not only for us, 
but for caterpillars to enjoy as well.


Next to the broccoli, I planted some cherry tomatoes.
They were long and gangly,
so I used the trench method of planting them,
laying them down horizontally and covering the stem with soil.


As you can see, they are ready to do their thing!


What a pleasant surprise to see Romas growing!
There is only one plant in another part of the garden,
but I'll take what I can get.
This was a seedling plant that was gifted me by my garden mentor, Lynn.
You can read all about him in our Farm School Series.


I also bordered the first bed we put in with baby kale.
I've been eating these in my daily salads
and they are even tastier than the full-grown version!


Oh, and, we've had visitors.
Many, many visitors.
The monarchs are coming back in droves.
We are an official Monarch Way Station,
which means that we provide a beneficial habitat for these amazing critters.
We also host gulf fritillaries, black swallowtails,
zebra swallowtails and others.


Welcome back, sweet ones.

Well, that's what's going on around here.
What's happening where you are?
HOP on!


Friday, April 10, 2015

Blueberry Cobbler


Our friends, Faye and Lynn gifted us with blueberries.
They've got some great connections!
So, we got to work using them up.
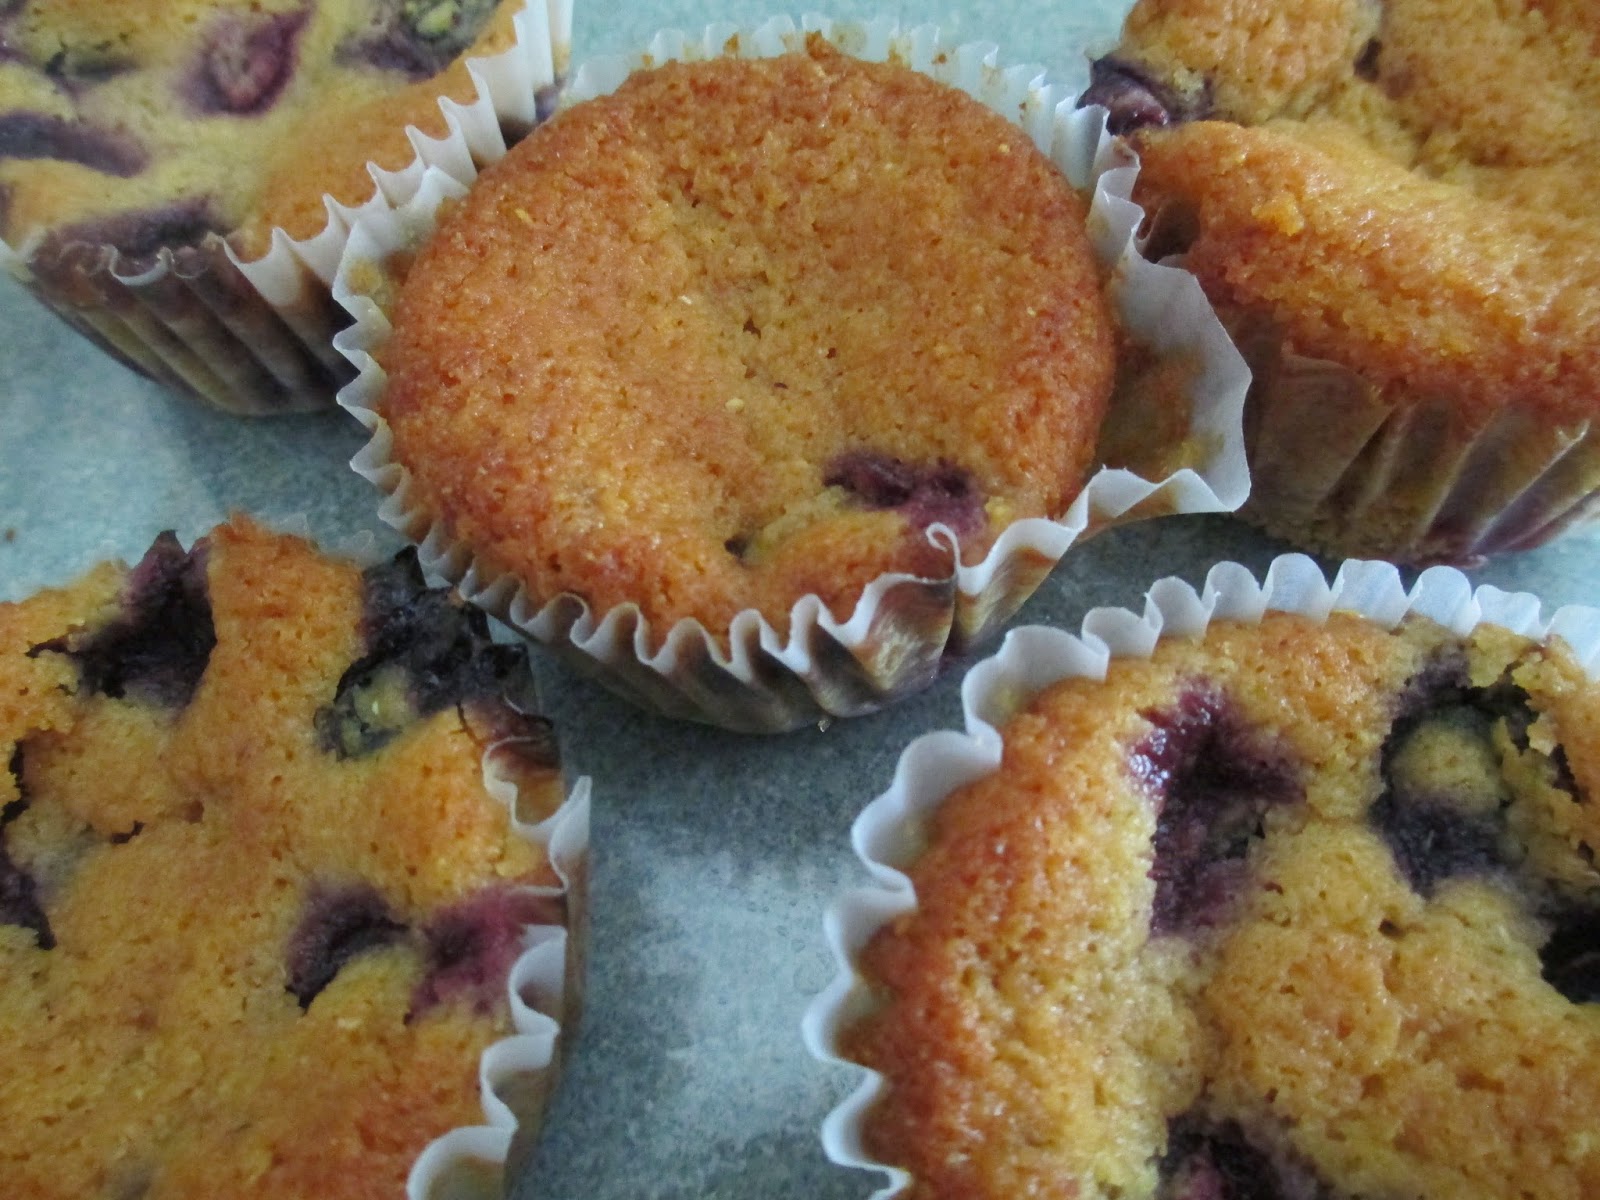
We made a gluten-free blueberry spice cake, 
which I've made before.


And gluten-free corn muffins with blueberries added to the mix.


This was the first time I made a cobbler.
I like that it was so simple and had very little sugar in the recipe.
I imagine you could even use a butter substitute or coconut oil to make it vegan.
We didn't have any cornstarch in the house, so I used extra flour.
I'll bet it would be absolutely dreamy
with a scoop of French vanilla ice cream on top.
 I hope you'll give this a try.

Get your berries on!

Blueberry Cobbler
3/4 C unbleached flour
1 t baking powder
1/4 t salt
1/4-1/2 C almond milk
1/4 C unsalted butter (cold)

3 C blueberries
1/4 C sugar
1/8 C cornstarch
1/4 t cinnamon

Combine flour, powder and salt.
Add diced butter and knead with a pastry cutter or your fingers,
until the flour mixture resembles a coarse meal.
Transfer to a large bowl and add almond milk until dough comes together.
Preheat oven to 375.

In a medium bowl, combine berries, sugar, cornstarch (we used flour) and cinnamon
and mix just until incorporated.
Transfer berries to 8" square baking dish (we used a ceramic pie plate).
Top with dough mixture.
Bake 55 minutes, let cool 30 minutes on wire cooling rack.
Enjoy!


Simple Saturdays Blog Hop

Tuesday Garden Party Co-Hosts

HomeAcre Hop

Our Simple Homestead Blog Hop

Tuesday, April 7, 2015

The Maple Hill Hop 75


Maple Hill Hop


Welcome to 
The Maple Hill Hop.
This is a hop for folks who love the outdoors.
Feel free to post about anything that's going on
OUTSIDE
in your neck of the woods,
no matter the season.
(Please share only outdoor posts.)
*Please link back to Maple Hill 101.*


Even though our house is for sale,
I feel the need to keep my dreams moving forward.
That includes continuing to garden for as long as we're here.
 With readying the inside of the house and painting the exterior in order to list it, 
the garden is a bit behind.
This past weekend, I was able to finally install a couple of veggie beds.


This is a bed on the southernmost part of our backyard.  
I am transitioning some of our ornamentals closer to the house,
and planting the veggies in this area.
This is one of three new beds I plan to put in throughout the next 2 weeks.


This part of the bed had some lettuce and peppers planted
right alongside some society garlic and citronella.
The peppers got nudged over just a bit,
and I relocated the citronella closer to the patio,
as it is supposed to help with mosquito control.
I've been experimenting lately with edible landscaping,
mixing ornamentals with veg, so I may just leave some of it as is.


 The first step in the process of creating my new bed was to remove the old mulch.
We use pine straw in the backyard and really love the natural look.


The cleared mulch is placed to the side 
until we level out the spot.


A double layer of newspaper is added to the area,


and then the old mulch is replaced back on top.
This allows us to reuse the mulch that has been broken down over months,
while adding nutrients to the soil.


Our rich, hand-cranked soil is added next.
Faye, Lynn and I made this about a week ago,
using his method for soil production.
We used some store-bought veggie and fruit tree mix,
along with some perlite and a bit of Lynn's Envirosoil.
It's some mighty sweet stuff.


The new, luscious loam is spread across the paper and mulch
and leveled.
I'm excited to see how using the improved soil affects my crop production.


The transplanted peppers were placed close together
in the middle of the bed.
These are sweet banana peppers.


The "sweet millions" tomatoes (that were long overdue for transplanting),
now have room to spread out a bit.
The last step is to cover with new pine straw
(which I need to purchase)
or whatever mulch you like.
This area gets partial shade in the afternoon,
which we need this time of year to grow tomatoes.
Even this variety of cherry tomato appreciates some cover.
It's just too hot to grow them in full sun.
With temps expected in the mid to upper 80's all week,
these will most likely be watered daily until they are stronger.


I hope to get to this next bed this week.
Right now it has a smattering of ornamentals and veg,
including daisies, lantana, liriope and a pot of native petunia, zinnias and portulaca 
coming up along with a few broccoli and eggplants in there.
We will transition it to a veggie bed containing
eggplant, green beans, carrots, parsley, baby kale
and brandywine tomatoes.
I'm thinking maybe I should just use the enriched soil where crops will be planted, 
akin to the method used by Old World Garden Farms,
instead of using it throughout the bed.
Maybe we'll do an experiment and see if we can tell any difference in crop production.
Well, that's the status report on our Central Florida garden.  


What's happening where you are?
HOP on!


Friday, April 3, 2015

The House Blog


Today we are shamelessly promoting our home for sale.
Since we'd tried to sell it twice before with two different realtors,
we thought we'd give it a go ourselves.
It seems to be a good time to sell and the market is picking up a bit here.


The worst that can happen is that we don't get enough traffic
and end up having to list it again with our realtor of choice.
Without a listing on the MLS, buyers aren't able to see all of the homes available.
We found a way to (hopefully) get more exposure for our home.
When researching safety considerations when selling yourself,
I stumbled upon a blog by Andrea Dekker,
who created a blog for her home
and put it on Craig's List.
Brilliant!


So, that's what I've been working on for the past couple of weeks.
I'm asking everyone I know to put a link up on their Facebook account,
or any other type of social media,
as well as listing it on Craig's List ourselves.
We trust that the right buyer will find it
and be quite content here.


The next time you need to sell a home, 
consider creating a blog for it.
We hope that this endeavor 
will allow our dreams to move forward.
 Here's the link.
(The house blog was removed when we ended up 
listing with a realtor.) 


Simple Saturdays Blog Hop


ABFOL One Project at a Time

Tuesdays with a Twist

Simply-Inspired-Wednesdays-Graphic-with-SL-Logo-only

HomeAcre Hop


Thursday, April 2, 2015

Pantry Remix


One key of thriftiness is having a well-stocked pantry.
We scratch cook and don't eat out much,
so we save a ton of money,
and the bonus is that we feel we are eating as healthy as we can.
Knowing what you have on hand ensures that meals can be quickly prepared,
which makes life so much easier.

before

We posted about organizing the pantry a while back.
You can read that here.
With the house on the market again,
I've been tweaking some of our most used spaces,
including the pantry and baking/spice areas of our kitchen.
Not only will an organized pantry make our home more appealing to buyers,
it's more motivating for us to whip up something delicious.


The main reason for tweaking the shelves in the pantry 
was to separate the gluten-free items from
the other baking ingredients.
Cross-contamination hasn't been an issue,
but it just seemed like a good idea to keep these things apart.


after

Now those items that are safe for Lil' Guy are on the second shelf,
and the other flours and conventional pastas are on the bottom shelf.
We love using jars to keep everything fresh and easily visible.

Another area where we keep ingredients for baking is one of our cabinets.
It houses things like spices, baking soda, baking powder,
pear sauce that gets added to all of our gluten-free concoctions (it keeps things moist),
and the gf flour mix we use. 
There are so many cabinets in this kitchen,
we have ample room for all of our goodies.


before

after
It may not seem like much of a transformation,
but I like the streamlined effect.
Adding the spice racks onto the inside of the doors
really does free up space elsewhere
and makes it easier to see just what you have.
(You can make photos larger by clicking on them.)

It is such a blessing to have a kitchen so well stocked
with good things for my family to enjoy.
Hopefully, the new owners will feel the same way.

All this week we've been focusing on our home being up for sale.
Tomorrow we'll show you a new way we found to market it!

Other organizing posts on Maple Hill 101:
Kitchen Organizing Ideas 
Organizing in the New Year-Kitchens 
Kid's Menu 
Pantry, Organized 
Kitchen, Organized 
Recipes, Organized
Baking, Organized 


Clearwater Farm Journal


Simple Saturdays Blog Hop


ABFOL One Project at a Time


Tuesdays with a Twist


Our Simple Homestead Blog Hop