Here we are again, it's Garden Friday!
The biggest chores are complete for the season
and we are coasting into fall planting time.

These were our straw bales last spring.
You'll notice they are set up side-by-side
instead of end-to-end, like most folks have them.
Now I know why most gardeners do that.
Much.
More.
Efficient.
Next time I will follow suit.
We had pretty good success with growing in our bales.
I plan to do it again in the spring.

After a full year of being in the garden
(I actually bought the bales last fall),
they were toast.
It was time to repurpose them for our raised rows.
This is the method used by Jim and Mary over at
What a wealth of knowledge you can find on their blog and in their books!

Most of the time, I am fairly relaxed about how the garden takes shape,
but this time, I wanted to follow their instructions.
This is the first time I'm trying this technique,
so I was grateful to have the book handy.
There are three zones to the raised row method:
the walking zone
the growing zone
and
the planting zone.
The growing zone measures 18 inches across and 6 inches high.

The growing zone in my garden started with a foundation of mulch,
then the straw bales (shredded) on top.

The walking zones were made between the growing rows
and measured 24 inches wide.
Their foundation is cardboard and shredded mulch.

Our beautiful compost was added to the tops of the rows.

The berms were leveled so that the tops are flat
and the sides taper down.
Is it just me, or do they kinda look like graves?

The last step for the raised rows
was to add mulch to the top.

Cover crops will be sown through the winter
to keep weeds down, help with soil erosion
and improve the soil integrity.
Once spring rolls around,
the soil in these hills will be warm enough to plant in,
maybe even up to a month earlier than elsewhere,
and will have extra nutrients from the cover crops.
It's the first time I'm trying cover crops,
and I look forward to the learning.

Elsewhere in the garden, a few odds and ends got buttoned up.
An extra hose was added to the ones I'm using out there,
until we get a drip irrigation system installed.
I'm saving for that now and hope to complete the project
so that spring watering will be a breeze.

I'm experimenting with planting by the moon phases.
Here, I've sown beets and carrots in our newest hugelkultur bed.
Adding the hardware cloth will hopefully keep critters out.
As the plants germinate and grow, the cage will be removed.
 |
| squirrel feed |

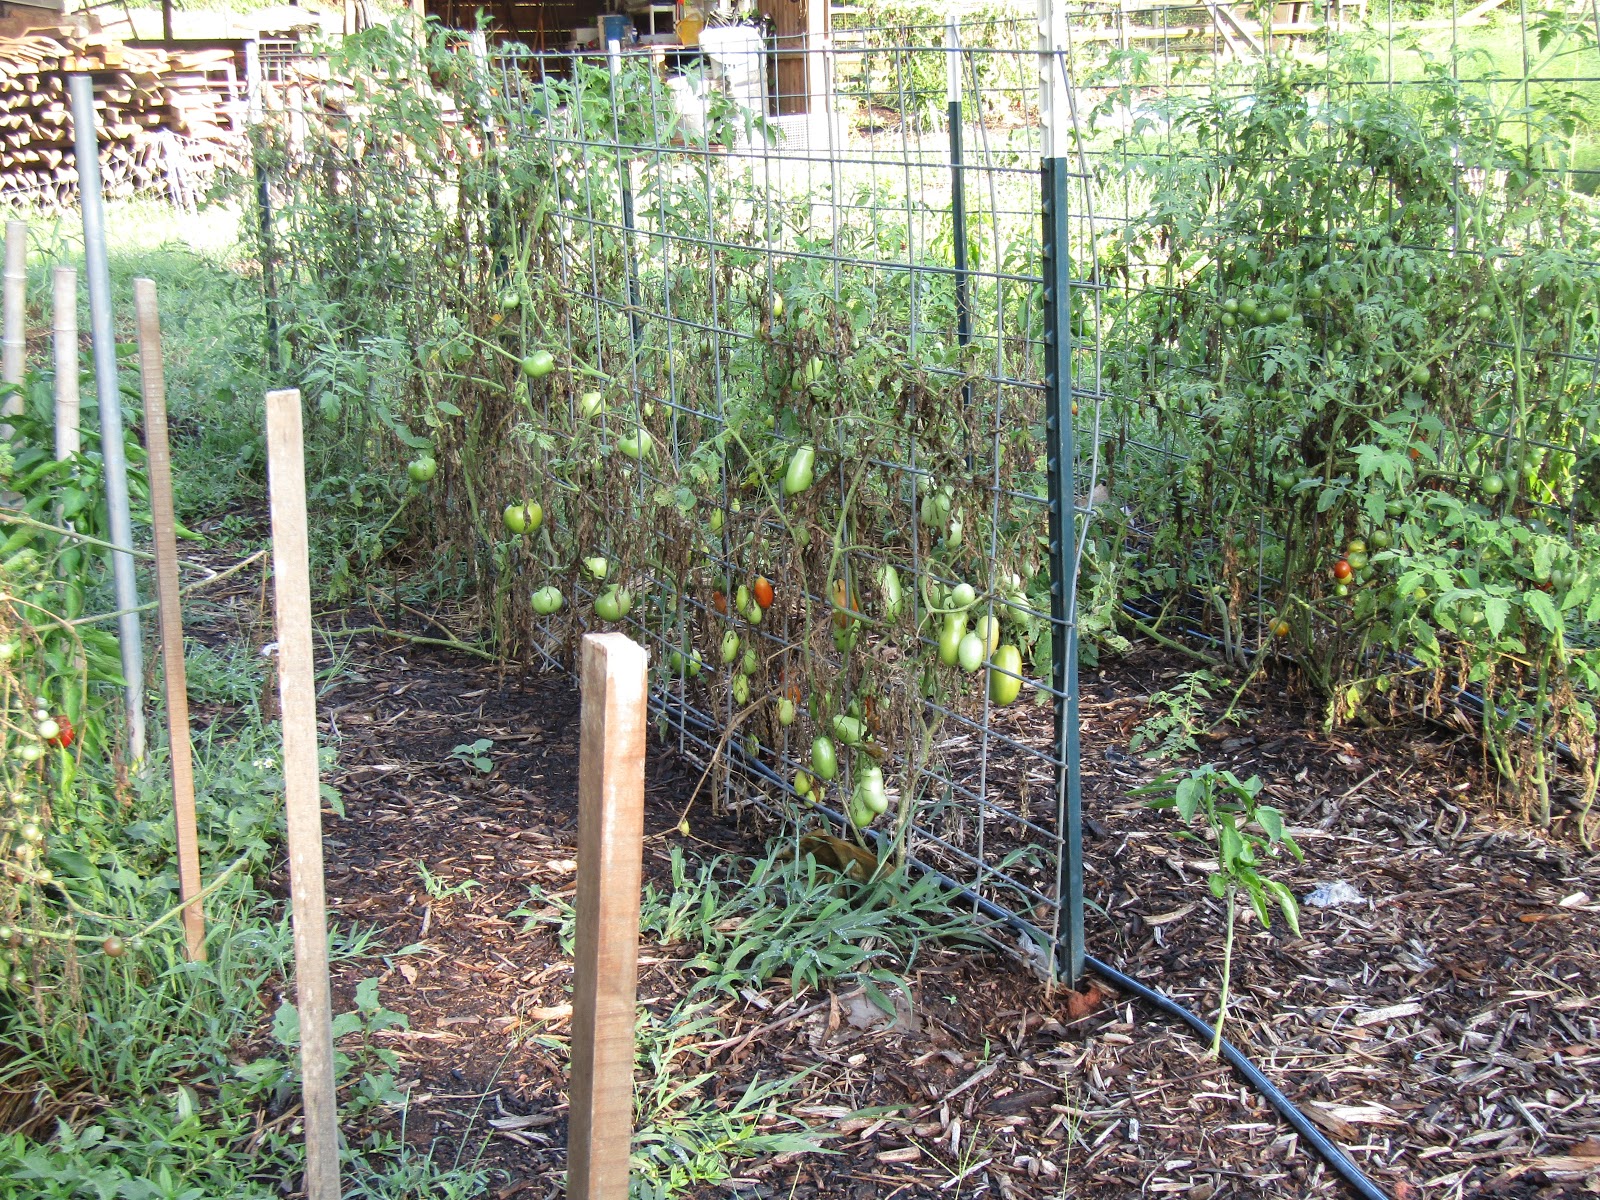
My farmer friend Lynn was right (as usual).
When I asked him why my maters weren't ripening,
he calmly said, "Just be patient."
They are slowly coming around,
even though there are some issues like splitting.
(I think my inconsistent watering is to blame.)

But, there are some beauties out there!
A few have been found on the ground chomped on.
It irks me that they don't eat the whole dang thing!

This is the one I'm waiting for.
SHHHH...
Hopefully, I will get it before the squirrels do.

The garden has gone through some major changes in its first year,
but more are sure to follow.
Next year I'd like to add fruit trees, berries
and possibly chickens.
I love gleaning new ideas from other gardeners.

The cardboard and mulch pathways have really worked out well.
There is plenty of room to maneuver, even with a wheelbarrow.
Now that we have a trailer,
we can pick up free mulch from the dump anytime we need it.

To the right of these tomato plants
is where I am considering putting a tunnel,
made from hog panels.
I'd love to grow flowers and beans on them.
It would add a bit of height and drama to the garden,
don't you think?

I was beyond thrilled to find this with my own eyes!
The hornworm is being invaded by parasitic wasp larvae.
I've only seen pictures of this before,
so it was great to see it in person.
Of course, they were left to their own devices.
Mother Nature keeps everything in balance.
The hornworm is being invaded by parasitic wasp larvae.
I've only seen pictures of this before,
so it was great to see it in person.
Of course, they were left to their own devices.
Mother Nature keeps everything in balance.

The pumpkins aren't doing too well.
I have yet to find another female flower on them,
and I noticed this weird black spot where the stems are growing.
Any ideas?

These coneflowers were seeded months ago,
but are just beginning to find their wings.
They were moved to the veggie garden
and placed under the okra plants.
Echinacea is one flower I can't get enough of,
and I know the bees and butterflies feel the same way!

These alyssum germinated immediately.
They should give us color throughout the fall.
These gems are part of our downtown beautification project
with the Master Gardens West End group
and will be donated to the boxes on Main Street.

Are ya kiddin' me here?
How can y'all look so good in this heat
when the rest of us are melting?
These plants in the butterfly bed have not been watered
for over a month.
With little rain during that time, their resilliance amazes me.

We had two peach trees on the property
that were never well-cared for.
The former owners just didn't enjoy yard chores,
so the trees ended up fairly diseased.
Rather than try to bring them back to life,
we decided to take them down.

Our neighbor Joe, who is in his 70's and spry as a cricket,
brought over his mighty chainsaw and did the deed.
He does odd jobs for neighbors and obliged us.
Joe told me he started learning to cut down trees
when he was 5 years old.
Five years old?
Holy cow, that's quite a chore for a preschooler!

By the time I got my camera out, at the ready to document,
he was already finished with the job.
I guess he's had a little practice.
Some of the branches will be used in our repurposed sandbox bed,
which will be used as a pollinator attractor near the veggie garden.
We will fill the bottom with logs, twigs and leaves
before adding the soil.
I like to keep some brush piles in the wooded area
for the animals to take shelter.

Now that the bush in this corner has been permanently removed,
I can move my work bench against this wall.
The rain barrels will be to the left
and the hose that I use to water the veggie beds connects here.
At some point, a timer will be added to this spigot
and hooked up to the drip system.

We replaced the tarp on our soil pile.
I like to keep it covered to keep the leaves out.
It also keeps the soil in place when we have rain.
This part of the yard is sloped,
and this designated spot has a metal frame around it.

Look at our poor, lone decrepid sunflower.
It looks like something from "Little Shop of Horrors".
Better luck next year.
 |
| sweet summer sipper |

There is always another project looming.
As cooler temperatures approach,
(our dogwood tree has berries,
so I know it's true),
productivity increases, and
more tasks will be crossed off the list.
I'm expecting my Sow True Seed order anytime now.
It's like Christmas a few months early.
Savor your weekend!
"I am not in competition with anybody,
I just want to be productive."
~Ajith Kumar