Thursday, January 11, 2018

Ice Luminaries


I don't know about you,
but we had some frigid temperatures last week.
In fact, it didn't get up past freezing for over a week.
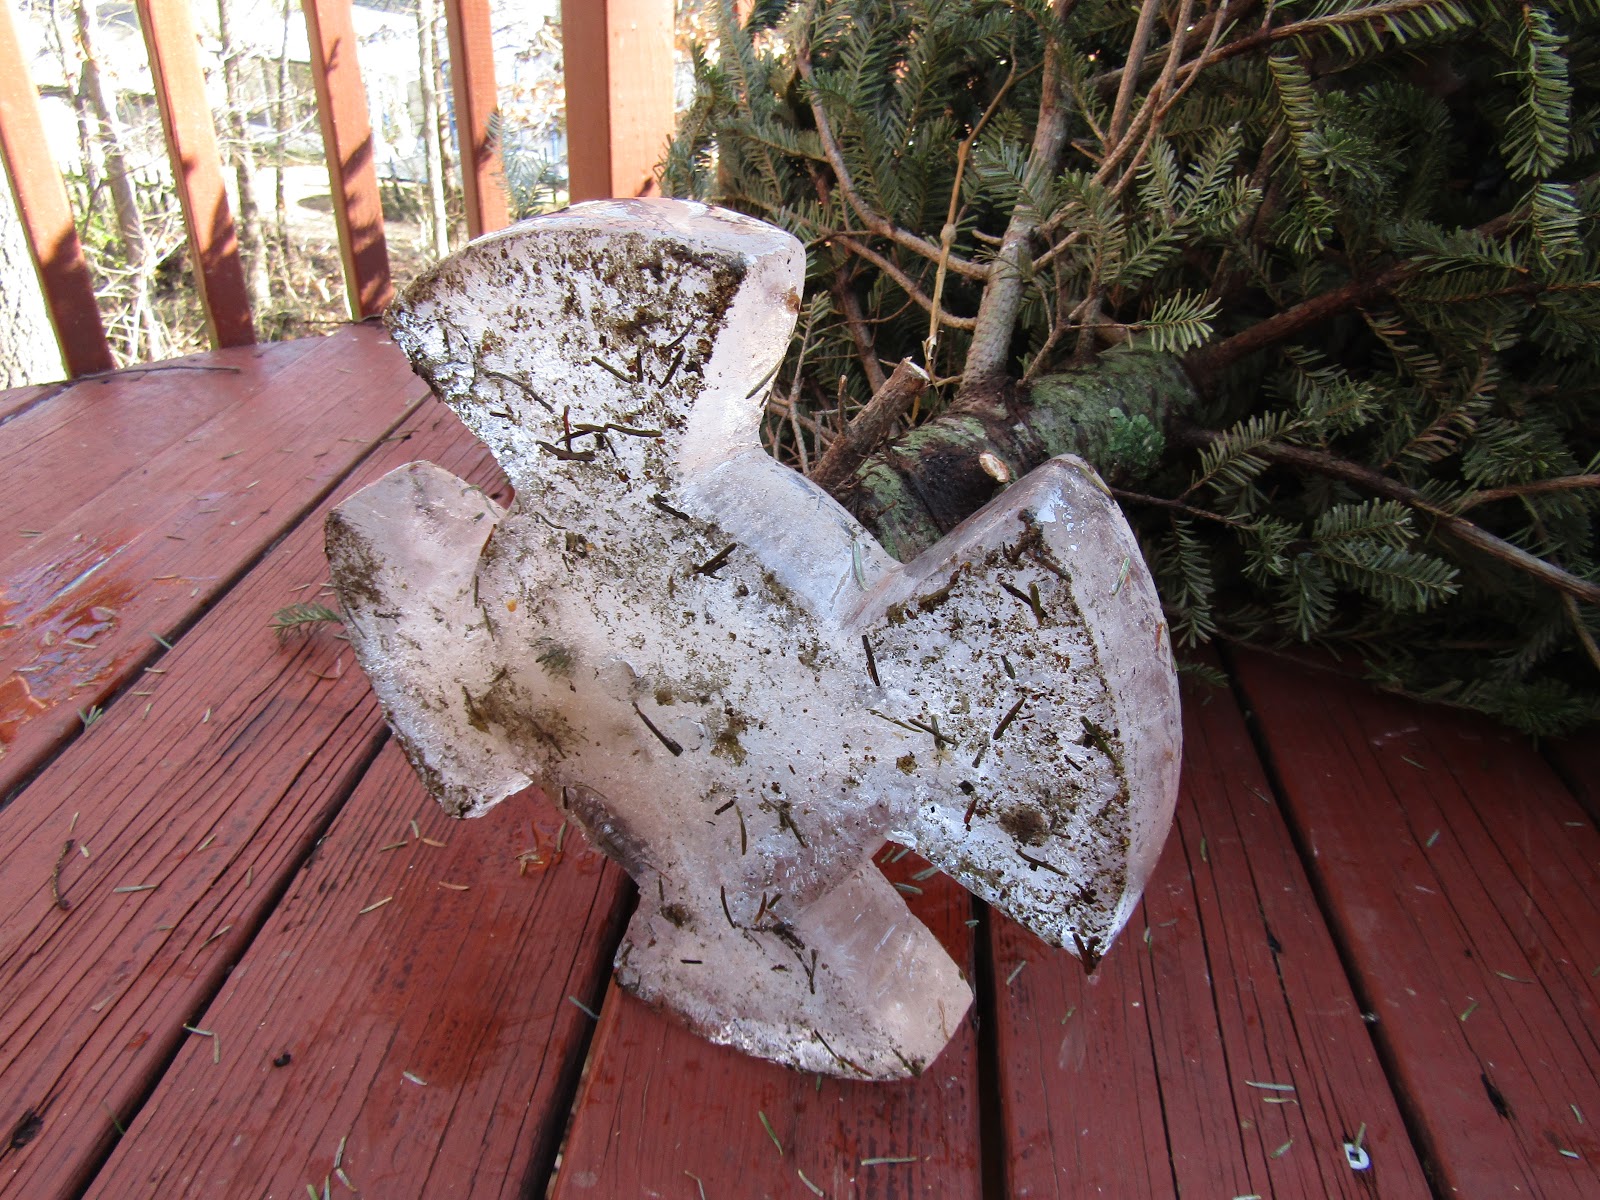
After leaving the Christmas tree (in the stand)
outside on the deck,
it was impossible to remove.
After the sun had been out a while,
I tried again and found this:
 
BRRRRRR!
We took the bitter cold in stride by mostly staying home
and enjoying the cozy fireplace. 

Embracing the season,
we made ice luminaries.


We repurposed two cans of different sizes
and placed the smaller into the larger.
Then we filled the space between them with water. 
You could also add berries, birdseed, or leaves
to the water to make them more decorative.


To keep the inner cans from floating,
we weighed them down with bricks.
These were left on the front porch overnight,
as we knew temperatures were set to fall below 32 degrees.


The next day when we checked on the cans,
sure enough, the water had frozen solid!


To remove the outer can,
we simply ran some water on the outside.
It slipped right out.
To loosen the inner can,
we just added water to the inside of the can.
Because we used a larger can with ribbing,
this transferred onto our luminary.
Voila!


We loved the way they turned out!
Adding a votive or tea light candle made them sparkle.


You could also use the battery-operated tea lights.


Depending on where you live,
you could line your pathways with these sweet things
and savor them all winter.
What a fun science project for kids!
Our cold snap has come and gone,
so ours have long since melted.
But you can be sure if it returns,
we'll be fashioning a few more of these to enjoy!


Tuesday, January 9, 2018

2018 Project List


We bought this house in the summer of 2017,
after our trek from Florida to North Carolina.
It was in good shape overall,
but there are some things we plan to do to make it more our own.

We've done several small projects already,
including:
painting bedrooms
painting living area
adding beadboard to office
installing ceiling fans
installing closet organizers
and
installing new lighting.
Not bad for a 6-month period,
but there is still so much to do.


At the start of the new year,
Big K and I actually sat down 
and talked about our punch list for the house.
It felt good to get it all down on paper,
so that we can see the big picture.
We decided not to prioritize the list,
and just determine what we will tackle next
as we complete each project.
So far, we've already been able to cross two items off of the list.
First, we installed a water filter under the kitchen sink
so that we can stop buying bottled water.
That has been on my personal wish list for a while,
as I am attempting to decrease the recycle bin's contents.
We recycle most of our garbage, and compost as well,
but it feels good to know that we needn't purchase more plastic than is necessary.

The second job we accomplished is painting the bathrooms.
Big K got on that right after the first of the year,
and did most of the work in the guest bath.
We worked together to complete the master bath,
painting the walls and all the trim. 
We will most likely finish out the master bath by
installing a closet organizer 
(the closet is located in the bathroom),
and then purchase the decorative components for the room.
Our bathrooms are going to be completely renovated,
but we know that we probably won't get to that until sometime next year.
Our biggest project for this year will be updating the kitchen.

So, for now, it feels good having a fresh coat of paint up
and having attained two of our projects so soon in the year.

On to the next goal!


Friday, January 5, 2018

Garden Friday


Welcome to the first Garden Friday of the New Year!


 A couple of weeks ago,
the garden was hibernating under this.
We haven't had snow since,
but temperatures have been consistently bitter,
in the teens overnight 
and hitting highs in the high 20's to low 30's during the sunniest of days.


 Before the onslaught of the chill,
the garden was restyled,
to make it easier for me to cover it during winter's frigid nights.
The pots were rearranged to make them more compact,
and rabbit fencing was added to the perimeter of the tallest plants.

 
The whole kit-and-kaboodle is covered with white sheets
anytime it is below 32 degrees.
For now, it's the best I can do,
as I have no row cover.
When temperatures in the mid-to-high 30's grace us for the day,
the sheets are lowered so the veggies can get some sun.
The pots on the outside of the cage are covered with inverted pots
and a brick placed on top.


 Before the chill hit, I was able to check on a couple of crops.
The broccoli is almost ready for picking.
Small shoots can be spotted underneath the main head.
This is the Pacman variety.
It's been great not having to worry about bugs
because of the colder temps.


 The Brussels Sprouts are starting to bud.
This is the first time I've tried growing these,
they are just so much fun to watch.

 We also have carrots, beets, kale, leeks,
and more broccoli starts out there.
Not knowing much about growing in a true winter climate,
I will be pleased with any produce we can grow.

What are you growing this winter?


Saturday Blog Link Party

Thursday, January 4, 2018

Banana Nut Muffins (df)


Something I strive for in my daily living
is to avoid wasting food.
So, when bananas get too ripe for snacking on,
I whip them into a quick bread or muffins.
This concoction is dairy-free,
as it uses olive oil instead of butter.
It's also short on sugar,
as the bananas boost the sweetness on their own.
This easy recipe will help you 
use up all those overripe nanners,
so nothing goes to waste.
Don't forget to compost the peels!


Banana Walnut Muffins

1 1/2 C unbleached flour
1/2 t baking soda
1 t cinnamon
1/4 t baking powder
1/4 t salt
3/4 C sugar or sucanat
2 overripe bananas, mashed
3/4 C light olive oil
1 egg
1/2 C walnuts

Combine bananas, sugar, oil and egg in small bowl.
Mix well and set aside.
Add dry ingredients to medium bowl and sift with whisk.
Add wet ingredients and then nuts,
and mix until just combined.
Preheat oven to 350 degrees.
Bake 12-15 minutes (for muffins),
35-45 minutes (for loaf),
turning pan around midway.
Cool on wire rack.
Enjoy!
Makes 1 dozen muffins or 1 loaf.


Saturday Blog Link Party


Tuesday, January 2, 2018

Be Blissed!


This phrase came to me recently.
I not only want to remember it for myself,
to keep in mind that we are meant to be blissful,
but also to share this intention with others,
so that they may experience their own bliss.

Often folks around here will say,
"Have a blessed day",
which may appeal to some people,
but not so much to others.
I admit, I used to feel defensive when someone would say it to me,
as if they were trying to push their religion on me.
Now, I've come to realize that any blessings sent my way
are more than welcome.
Whatever the foundation,
it's a positive force of energy being aimed at me,
and I'll take all the blessings I can get.

Saying, "Be Blissed!" is akin to sending a blessing
in that I am intending for that person to reach their state of bliss
in their current circumstances.
Someone may misunderstand me and think I am saying
"Be Blessed!",
and that's okay too.
As long as the loving energy is getting out there,
that's all that matters.

Along with wishing others well,
this phrase reminds me to focus on living in the moment,
appreciating each experience as a vehicle to reach my personal goals.
I am hoping to add a lot more fun and smiles
to my life this year.

This mantra will keep my spiritual intentions in check,
so that the world can see the best of me.
So that I can give the best of me.
Because that's what it's all about.
Be Blissed! 


Saturday Blog Link Party