Thursday, December 15, 2016

Thrifty Thursday-Repurposing Old Towels


We're all about thriftiness here.
Part of homesteading is using up what you have
and being creative about finding new uses for items that have lost their initial purpose.
Towels can, over time, become frayed, stained and less absorbent.  
That's when it's time to find another use for them.
Here are a few ways we have found to repurpose old towels:

*******
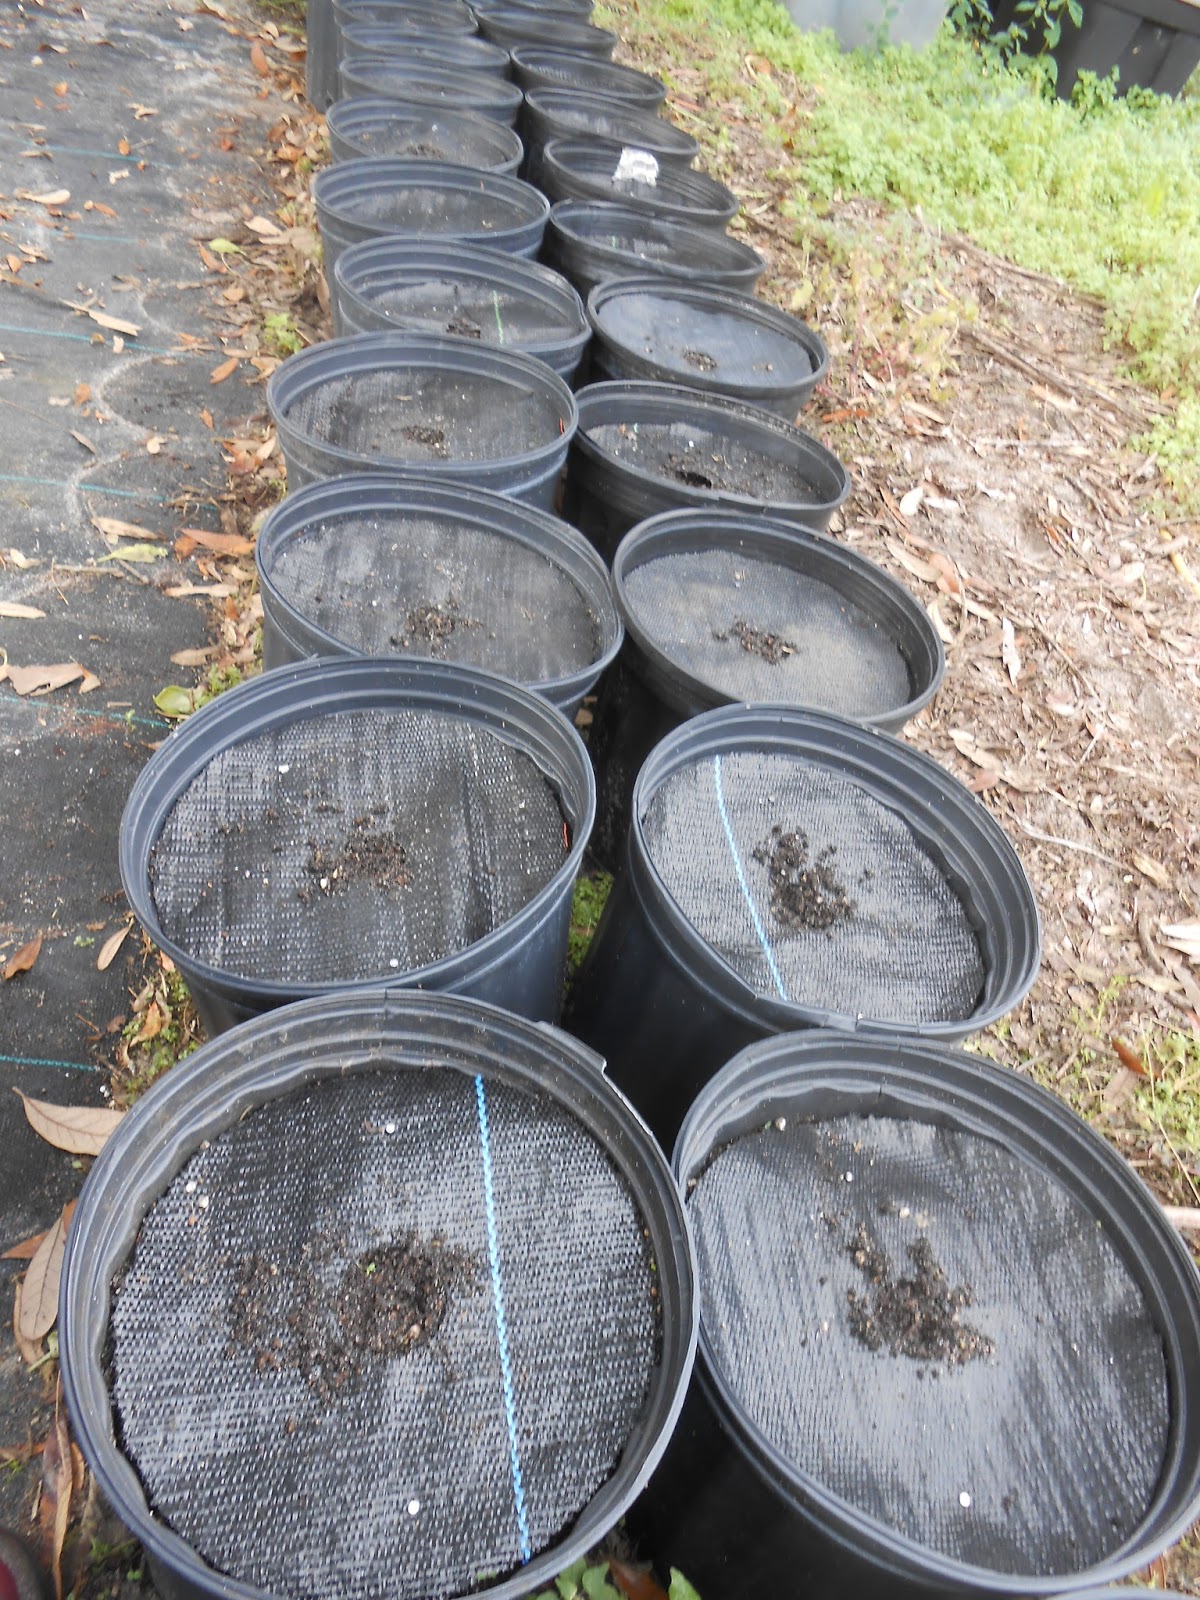
1.  Weed suppressant-Lay down towels to act as a weed barrier
when forming new beds.
The sun can't penetrate through them and your weed problem will be gone.

2.  Rice packs-Sew various sized pouches and place rice inside, then sew shut.
These can be placed in either the freezer or microwave
(depending on what temperature you need)
and used as hot or cold packs on injuries or aches.


3.  Car pillows-Create travel pillows for road trips
or just to keep passengers comfortable.
Used towels are especially soft after many washings,
and kids will love having their own car pillow.

4.  Moving helpers-Keep breakables safe during a move
with towels acting as cushions for your most treasured fragile items.


5.  Rag bin-The first thing we do with our old towels
is cut them into various sizes to be used as our new rags.
The old rags are then repurposed for other tasks
or composted if they are really worn thin.

6.  Critter Comfort-Animal shelters are always in need of donations.
The towels that you can no longer use for your family
can often be helpful at shelters for bathing animals
or used in their kennels for their comfort.


 So, don't throw those old towels away!
Use them up until they are nothing but threads.
Mother Earth will thank you.

"The trick of living is to slip on and off the planet with the least fuss you can muster." 
-Paul Newman


Homestead Blog Hop will take place every Wednesday featuring real food recipes, natural health remedies, DIY, crafts, Gardening Tips, and more...

Tuesday, December 13, 2016

Farm School Fall Garden Update


My time at Farm School is coming to an end,
but the fall garden is going gangbusters!
My farmer friends Faye & Lynn
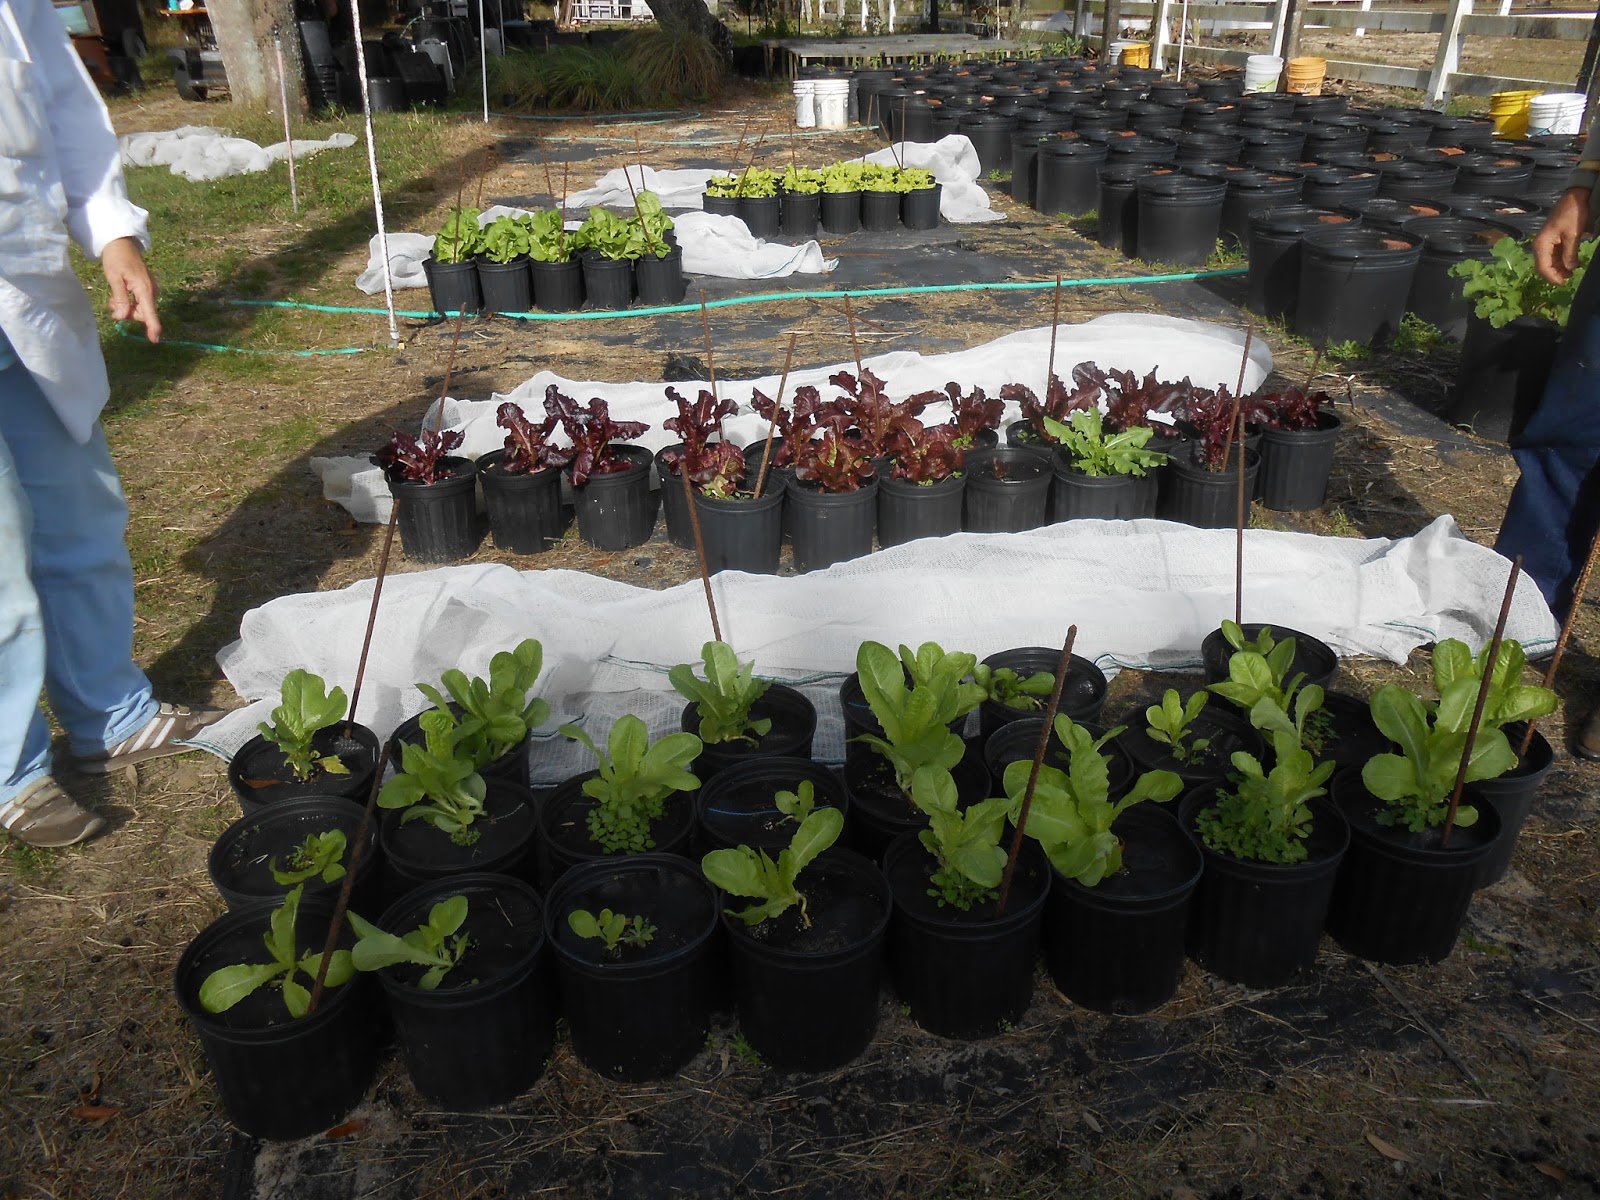
have a 7,000 square-foot organic container garden
on their 10-acre farm in Lake Wales, FL.
I've been blessed to be able 
to help them out every weekend
over the last 3 1/2 years.
It's always an adventure!


We uncovered the lettuces to take note 
of how well the squirrel-proofing was working.
The shade cloth protects not only from critters,
but from harsh winds that frequent this area.


Looks like they are doing just fine, thank you!
Take that, you pesky varmints!


More lettuces are awaiting their time in the main garden.
Grow, babies, grow!


The shade cloth has also been used to cover up the 
newly-planted sugar snap peas.


 Guess what?
It worked!
We'll be eatin' some of these tasty morsels in a few weeks!


The pigeon peas and eggplant are growing like nobody's business!
So many goodies, so little time.


On the other side of the garden,
the Asian greens are doing well,
along with the Swiss Chard, tomatoes and kales.


We seeded a new batch of Swiss Chard
in order to be able to have enough
through the rest of the season.
Amazing how such a little seed can feed so many.


Time will tell if these need to be covered as well.

tat soi
So much scrumptiousness in one place.
God does good work.
And so does Farmer Lynn.


Friday, December 9, 2016

Sweet Potato Soup (gf,df)


We are trying to use up the food in our fridge,
so I thought I'd whip up a batch of sweet potato soup.
The weather has been cooperating just enough,
so that a bowl of soup really hits the spot.

A handful of ingredients makes this dish 
a snap to put together in less than 30 minutes.
Sauteing the onions really brings out their sweetness.
If you don't care for sweet potatoes,
this method for soup making can be used with
white potatoes, butternut squash, or carrots,
or any combination of your favorite veg.


Sweet Potato Soup

1/2 yellow onion, diced
olive oil
3 sweet potatoes, chopped
salt
cinnamon (optional)
water or bone broth


In a medium pot, sautee onion in olive oil
until translucent (5-7 minutes).
Add sweet potatoes and cook until almost tender
(8 minutes).
Add seasonings and fill pot 3/4 full with water
or a combination of water and bone broth.
Bring to the boil,
then turn down to low heat.
Simmer with lid on about 10 minutes.
Use an immersion blender or food processor
to blend until smooth.
Enjoy! 

Want to grow your own sweet potatoes?


Gluten Free Fridays @vegetarianmamma.com Sharing glutenfree recipes for all


Tuesday, December 6, 2016

A Good Morning's Work


Our days at Farm School are winding down,
and we are cherishing every moment we get to learn from 
The Master.
This past weekend,
we worked on a couple of projects that needed doing.
The first one involved one of my favorite herbs.


We have a thriving rosemary plant out by our mailbox.
It loves the spot and requires very little care.
The bonus is the scent greets our mail carrier
with every delivery.
Win-win!


At Lynn's request, 
I had taken some cuttings from the Mother plant
and stripped the bottom third of the stem of leaves.
(These discarded leaves can be used for cooking or potpourri.)
I brought the cuttings with me to Faye & Lynn's,
so they could be transplanted for market.


Faye filled a large tub with pots,
then shoveled the magic soil mix into the vessels
and leveled them off with a straight edge (butter knife).


 Here we are all set up with filled pots and rooting hormone.
We worked near the garage,
as the day was too blustery to have much success 
with this endeavor out in the garden.
We simply took the cuttings, dipped them in water,
then coated the entire bare stem with hormone
and placed them in the center of the pots.
A dibber was used to create the perfect-sized holes.
They were watered in well and placed in a shady spot.
They will be watched and when they seem to be taking off,
they may be placed in a more sunny location.

You can read more about this fragrant herb 
in our Seed to Table Series here.


 The other job that Faye & I did together
was to pick pigeon peas.
These yummy morsels are akin to black-eyed peas,
in that they are nitrogen-fixers for the soil
and have a similar waxy taste.
We picked the greenest ones we could find.
They'll be shucked and sold at market this coming weekend.


Faye reminded me to use the sun 
to determine if they were ready.
The shadow of the peas in the pods helps to see their size.
The pods are not eaten in this case,
as they are quite tough.
You can read more about pigeon peas here.


It will be hard to say goodbye to this place.
The memories of all I have learned here
will be treasured in my heart.
My time here has made me a better person.
How do you repay that?


Friday, December 2, 2016

Unconventional Oatmeal Cookies (gf)


This recipe was so unique,
I just had to give it a go.
So many delicious ingredients
that I never thought to put together before.
But Jami Boys, at An Oregon Cottage did.
Many of her recipes have found their way 
We like to pass the good stuff along.


 Oat flour was made by simply placing oats in the blender
and whizzing away until the right consistency was obtained.
As no flour is used, these yummies are gluten-free.


With a mix of nut butter, seeds, nuts and chocolate chips,
they were bound to be good.


Chocolate Chip, Nut & Seed Oatmeal Cookies (GF)
Jami Boys

1/4 C butter
1/4 C nut butter (we used Sunbutter)
2/3 C brown sugar (we used coconut sugar)
3 T honey
1 egg
1 t vanilla
1 1/4 C oat flour (we made our own)
3/4 C whole rolled oats
1/2 t baking soda
1/2 t baking powder
1/4 t salt
1/2 C chopped nuts (we used pecans)
1/3 C sunflower seeds
2 T flax seed meal
1/2 C chocolate chips

Beat butter, nut butter, sugar and honey in a large bowl until smooth.  
Add egg and vanilla and mix until incorporated.
To the mixture, add oat flour, oatmeal, soda, powder and salt; 
stir just until mixed well before folding in 
the nuts, seeds, flax meal and chocolate chips.
Heat oven to 350 degrees and line sheet pan with parchment paper.
Drop cookies a tablespoon at a time onto prepared sheets,
flattening slightly.
Bake 8-10 minutes, then let cool on sheet pan 5 minutes
before transferring to cool on cooling rack.
Makes 3 dozen.
Enjoy!