Friday, September 11, 2020

Garden Friday

 
On this day, 
we pay homage to those fallen souls,
our brothers and sisters.
We will never forget.
God bless us, every one.


Well, it's Garden Friday once again my friends.
I've managed to keep busy and have made some progress
in kick starting the garden in the new location. 
It began with laying cardboard down to suppress grass and weeds.
Works like a charm, it's easy and it's FREE!

 
The raised beds we created last week were filled with branches, twigs,
leaves and leftover straw.
A few odds and ends were thrown in for good measure.
It sure comes in handy having this little rider and trailer to haul the goodies.

 
An afternoon trip to a couple of places helped me collect everything I needed for the next step.
The concrete corner blocks will help us build a few more beds
and the soil mix will get us planting!
At some point, I'd like to start creating my own soil mix,
but for now, the goal is to get fall crops in.

 
A cattle panel was cut in half and placed side-by-side in the first of two 3X8 beds.
The original plan was to stand the panel up across the far side of the bed,
but I couldn't get it to stand up on its own,
so I ended up bending the two halves and placing them across the entire bed.
I think I like this better.
With snap peas growing on the far side, I'm thinking they will be able to
have great support going through the top of the arch.
The other benefit is that I can place a netting over the entire trellis,
to discourage pests.

 
As a throwback from my square-foot gardening days,
this baling twine was added to help me section off where the seeds would be going.
I need visual cues like that, it just helps me do a better job.
Then I thought about how the twine being several inches off the soil like this
may discourage the chooks from digging in the bed.
We'll see how that goes.

 
Here are the tidbits going into this first bed.
We have carrots, leek, lettuces and snap peas.

 
The peas have been sown on the north side of the bed,
so that they don't shade out the other crops.
Because the space between the metal is fairly large,
it will be easy to reach in and harvest the carrots and leek.
The lettuces on the outermost edge will be fairly accessible.
I'm saving the extreme outer edge (toward the bottom of the picture) to sow allyssum.
I like having flowers mixed in with food crops.

All planted and ready to grow!
 
I use the plastic from water jugs to fashion tags,
so that I know what's planted where.
 
Having accomplished one bed,
I'm looking forward to staying on it 
until all of our beds are built and filled.
 

Along with sowing seeds,
it's been a busy time for nature watching.
We have many monarch caterpillars going about their business
and entertaining us all the while.
Here's one that decided to make itself to home
on one of the porch posts.

 
The next morning it was all tucked in 
and waiting for great things to happen.

 
Others have been found under the birdbath,

 
and scaling the siding on the house.
I guess they're not too fussy about where they call home.

 
Here's another critter that was found on the front porch.
My, but these insects are some friendly souls!
They just walk right up to the front porch and stay a while!

 
Some time was taken to tidy up all the bits and bobs laying around
that may be used in future garden projects.
Free pallets come in handy for so many uses!

 
Is this thing cool or what?
While getting ready to spread clover on our former garden area,
(I want to encourage pollinators and give the chooks some treats),
I asked my neighbor if she had a hand spreader.
This is what she whipped out and it took me by surprise.
I was expecting a handheld model,
but as soon as I saw this I asked her kiddingly,
"Could you will this to me?".
She kindly gave it to me to keep,
saying she didn't need it anymore.
Well, it turned out to be not what I needed for this particular job,
but I'm thinking it would make a great planter for the garden!
Me and retro go together like peas and carrots.

What's happening with your fall garden?


Tuesday, September 8, 2020

Homeade Almond Milk

 
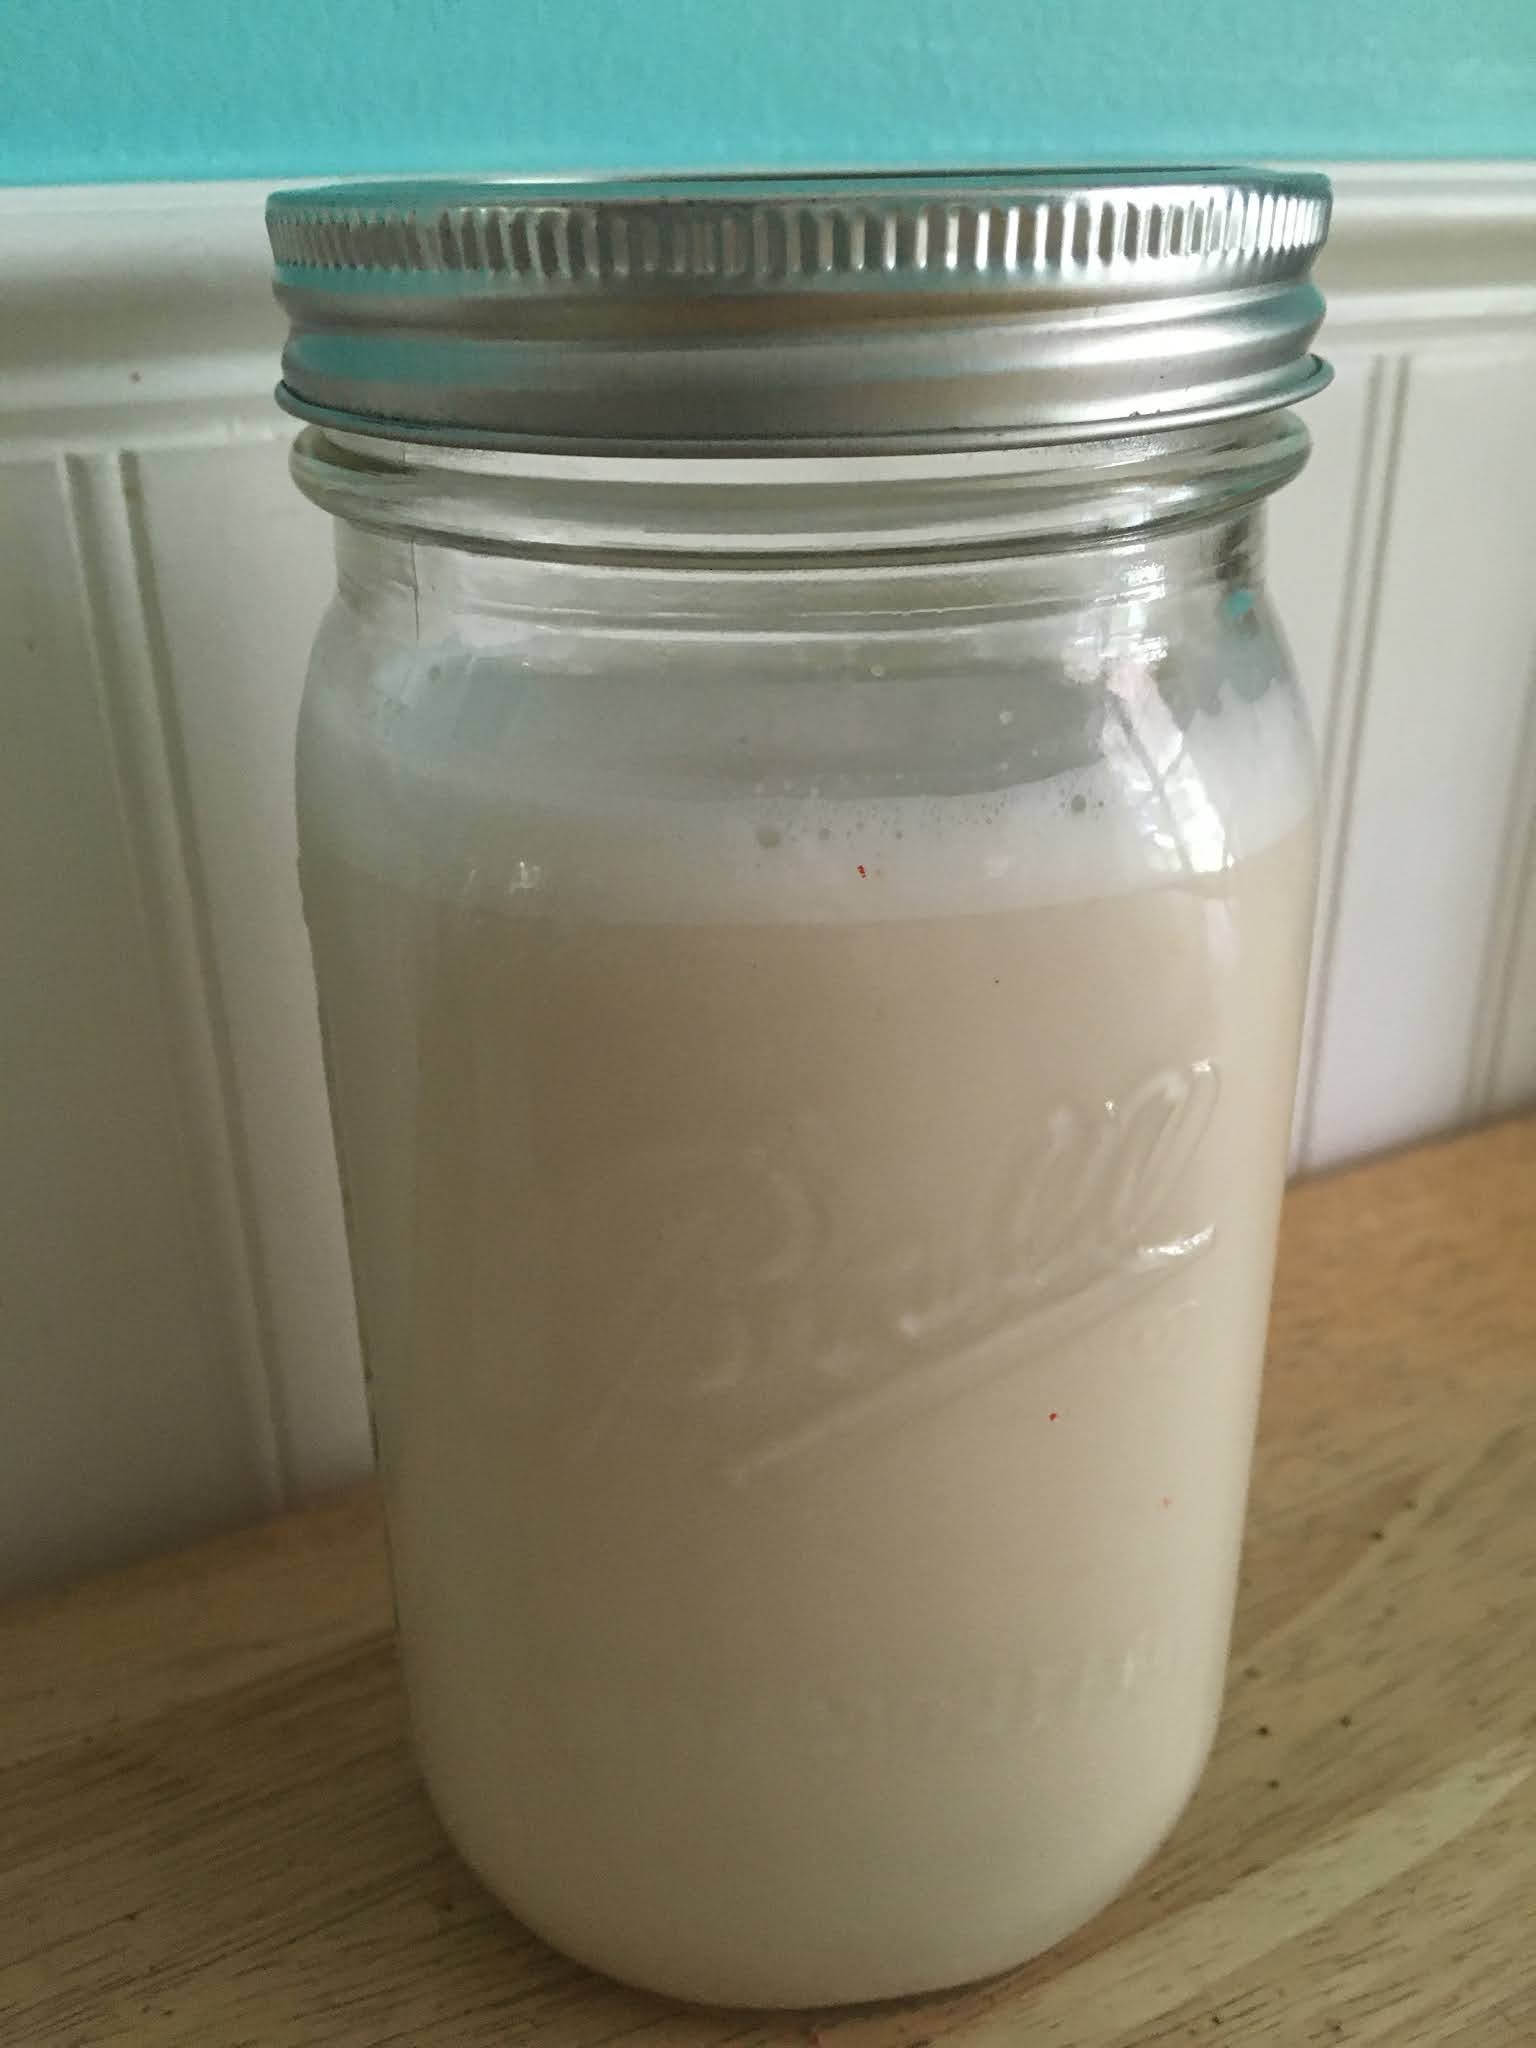
 The recipe for this almond milk couldn't be easier.
It was found on Downshiftology,
one of my favorite  
clean food websites.
 The impetus for finding it
was to be mindful about the type of packaging I'm buying,
and to decrease the total amount of packaging in general
that's coming in to the house.
I have read that the containers that refrigerated non-dairy milks come in
are recyclable, which is great,
but if I can decrease my use of even recyclables, all the better.
 
 
Overnight soaking of nuts in general makes them easier to digest,
and for this recipe, it's a must.
The soaking in this case not only enhances the creaminess,
it actually makes the almonds more nutritious
by activating the enzymes in the nuts.
The pulp leftover from the initial blending
can be saved for future baking projects,
but I've found that the chooks really enjoy it as a treat.
I dig no waste recipes!

 
This milk comes out so creamy and luscious,
you won't miss the store-bought stuff at all!
The best part of making it is that you know exactly what's in it.
And what's NOT.


 The only down side to making your own
is that it keeps for just three or four (if you're lucky) days in the fridge.
I now halve the recipe and end up making it twice a week
so that I have enough for my daily oatmeal and coffee.
I haven't sworn off store-bought,
but this recipe makes it easy to be more self-sufficient.
Whip up a batch of homemade cookies
and pour yourself a tall glass of creamy goodness.


Homemade Almond Milk

1 C raw almonds (soaked overnight)
4 C cold water
1 teaspoon vanilla
1-2 soaked dates or 1 Tablespoon maple syrup
pinch salt

Drain and rinse almonds after soaking.
Place ingredients in blender or food processor.
Blend at least 1-2 minutes.
Strain with a nut milk bag or fine sieve.
Keep refrigerated up to 3 days.
Enjoy!
 

Friday, September 4, 2020

Garden Friday


 Welcome to September's first Garden Friday!
With over 5 inches of rain so far this week,
the rain barrels are overflowing
and the mushrooms are sproutin' up big time!

new garden location
 
Work has started in earnest on the new garden site.
We got good news from the second company that came out to give us
an estimate on septic tank issues.
Since our levelers were adjusted by someone from the city,
the standing water has not been a problem.
That, along with removing all of the material from the leach field,
has allowed the septic system to work properly,
so we will not have to spend any money on it for now.
We do plan to have the tank pumped, 
since we've been here for over 3 years
and haven't yet had it done.
It's recommended to have the tank pumped
and inspected at least every 2 years.
We can do that!

 
The raised bed materials from the old location had been dismantled 
and placed to the side until we confirmed the new garden space.
The same boards will be used, as they are still in decent shape,
and of course, our cement corners and rebar can be used
over and over again.

 
Creating raised beds couldn't be easier with this system
and it is really inexpensive.
The boards, which were cut to length at the store,
simply nestle into the slats on the sides of the cement blocks.
(Cardboard is placed under the beds to deter weeds.)

 
Big K helped me put these 3X8 beds back together.
We took advantage of an overcast morning 
and had two beds created in just minutes.

 
Once the boards are placed in the corner pieces,
it's a good idea to install rebar through the center holes.

This prevents the boards from shifting and moving.
One of the best features of this system,
is that the beds can be made as tall as you'd like.
As the height increases, longer pieces of rebar can be used.
In this way, it's possible to make taller beds
for those who may have difficulty with balance or mobility.

 
This weekend will find me working on filling in the boxes
with organic material such as branches, leaves and twigs,
before adding soil to the top section.
(Here I've just thrown in some brown packing paper that we had in our recycle bin,
and a few food scraps that the chooks left behind.)
This is my version of hugelkulture.
Not only do these materials break down over time adding nutrients,
they are the perfect home for all sorts of wriggly critters
which will keep it aerated and add life to the growing medium.

 
Two beds down, several more to go.
Let the fall planting begin!
I will add more beds slowly, as it is still really hot out there!
For the first time, I made up a plan,
outlining where I want beds to go.
The first thing I intend to put in is snap peas,
as my spring harvest left much to be desired.
I feel so blessed to have another option on our homestead
in which to grow food.
Between the garden and the chooks (see them in the upper left corner?),
this will be where I'll be spending most of my time.


These critters were covering some of the cardboard I had laid down
before placing the raised beds.
I believe they are flying ants,
as they have a narrow waist.
Thankfully, many of them were eaten by the chooks!
How's that for pest control?

 
We continue to be fascinated and amazed 
by these Monarch caterpillars.
Witnessing the cycle never gets old.
They absolutely devour the milkweed.

 
A chrysalis was spied on the underside of our metal coneflower bird feeder.
I'm hoping I can catch it as it emerges,
which usually happens in the early morning hours.
 
Mother Nature is truly incredible!


Friday, August 28, 2020

Garden Friday


It's Garden Friday and summer's heat is hanging on!
Although our mornings are relatively cool,
we are still hitting near 90 midday.
The summer blooms are a joy to behold.


 Look who decided to stop by!
The Monarch caterpillars showed up this week to my delight.
With plenty of milkweed to enjoy,
I'm hoping they will be very happy while they chow down.
I'd love for them to tell all their friends!


It all starts with these teeny eggs on the underside of the leaves.
The cats come out of the egg, eat it,
and then proceed to devour the leaves of the milkweed.
It is the only plant that they eat.
Once they have had their fill,
they find the perfect spot to form their chrysalis,
where the dramatic transformation takes place.
The whole process, from egg to butterfly takes about 3-4 weeks.


Our butterfly bush has been covered with these yellow swallowtails.
They are enjoying the nectar of the butterfly bush, lantana and milkweed blooms.


Most of the garden has been taken out.
I'm planning to sow Dutch white clover and maybe some red clover here,
in order to provide for the pollinators and chickens,
as well as keeping the leach field easier to maintain.
I've learned that it's a good idea to grow shallow-rooted plants
over the septic leach field, as it helps with absorbtion 
and does not interfere with the workings of the system.


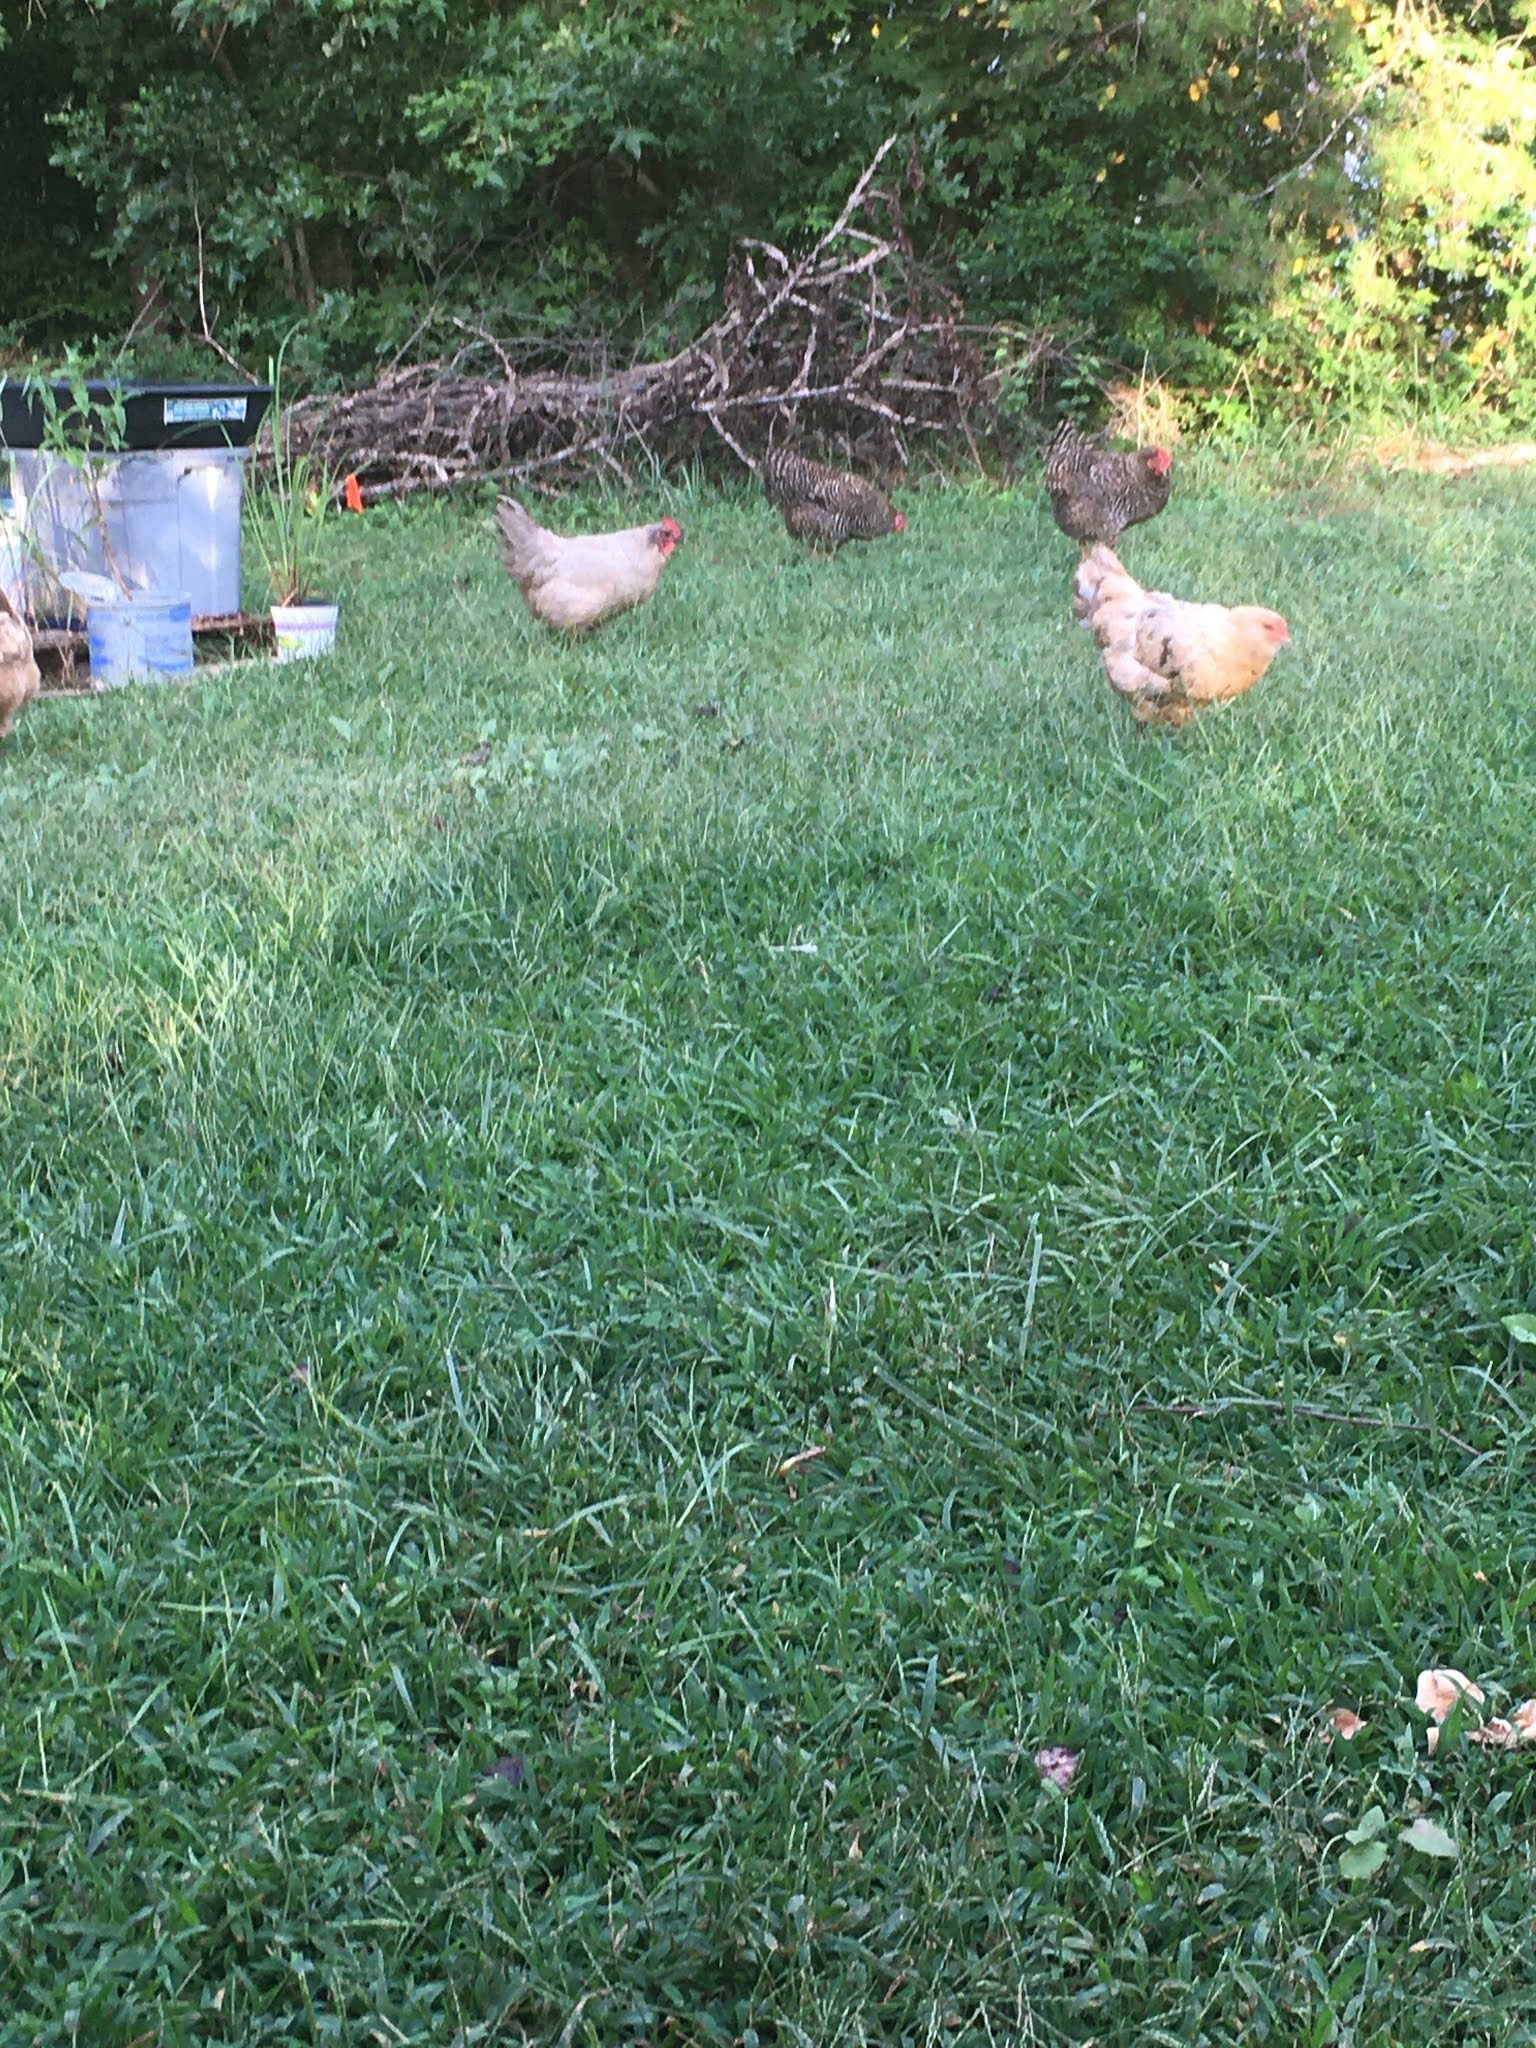
The chooks love foraging every evening before heading to bed.
It's become a nightly ritual that I myself relish.
 
Here's hoping that you find your peaceful spot this weekend.
 Blessings to all dealing with the hurricane clean up.

Tuesday, August 25, 2020

Dryer Fire Safety


One of the tasks we managed to complete during lockdown
was cleaning out the dryer vent.
It's suggested to do this at least once a year,
depending on how much laundry you do.
Not only is this important for the life of the dryer,
it could save your life.
Along with making it easier for the dryer to do its job,
keeping the lint filter and vents free and clear of sediment
helps your dryer work more efficiently and quickly.
 
The lint that builds up in the vent is highly flammable,
and if the vent gets clogged, it can start a fire.  
It can also prevent CO gases from exiting the system outside
and keep it circulating within the laundry area.


This brush, with the extended handle,
is a tool that makes the job a breeze.
It can be used with a power drill, to make the task even easier.
The brush can be found at most hardware and home improvement stores.


Our laundry space is in a hallway closet,
we don't have a separate laundry room (yet).
Now, you know I wouldn't show this to anyone unless I thought it could help.
This is what the floor underneath the dryer looked like.
Ugh.
I doubt it's ever been cleaned under,
but since the dryer had to be moved to get to the vent,
we took the opportunity to tidy up while we were there.
 
 
The hose connecting from the dryer to the vent hole in the floor (on the rear right),
was removed and we could get to work.
With the Shop Vac and my usual floor cleaner of hot water and vinegar,
the grunge was sent down the bathroom sink.


We placed the brush into the hole and got out a mess of debris.
The second part of this task was to locate the vent on the outside of the house,
and clean it out as well.
You may be surprised at all the junk that makes its way out.
All of this debris can be composted,
or if you don't use dryer sheets (I use dryer balls),
it can actually be left outside for the birds to use in nest making.
I even know someone who puts it in her worm bin.

The back of the washer and dryer were thoroughly cleaned.

The side where the washing machine sat was no better.
For some reason, this side was sticky and I found a stack of newspapers
wadded up behind it, along with a few stray kids' socks.

This tile will be replaced when we redo the bathroom floors,
but at least it's cleaner until we tackle that job.
We will be moving the laundry to another part of the house,
and this closet will become our pantry and storage area.
Looking forward to making this spot more efficient!

Every time I opened the doors of the laundry closet,
the area in front of the washer and dryer really bothered me.
It was full of nasty grunge and gunk. 
Ahhh, that's better. 

More importantly,
our family feels a bit safer,
knowing that we have maintained this often forgotten space.
It will be an annual chore that can be accomplished in minutes.
Our safety is well worth the time and effort.