Tuesday, May 19, 2020

Good to the Last Drip


my neighbor's peony

 Greetings!
It's been a long time comin',
but the drip irrigation is finally in!


After tweaking our components a couple of times,
we think we at last have a working system.
This is a pictorial review of what we did.
The star of the show is the poly tubing.
We chose 1/2" poly found at Lowe's 
and proudly manufactured by Mister Landscaper,
right here in the USA.


When you choose your poly, 
it's important to be sure that the connectors you use
are compatible with your tubing.
We ran into trouble early on,
and had to reorder and return several items.
Wherever you decide to purchase your materials,
have a chat with someone who knows irrigation,
so that you can save yourself a lot of trouble
by getting what fits the first time around.


The connectors we used like these tees,


 and these elbows from DIG,
were ordered from Home Depot.


The poly was buried underground,
so the section going up the raised beds
fit snugly in the corner blocks.
The tidiness of it appeals to my inner organizer.


The poly was attached on top of the side of the beds,


creating a streamlined effect.


The end caps, also from DIG were used at the end of the system.


The 1/4" drip lines, from One Stop Outdoor,
are also made in the USA,
and can be acquired at Amazon.
We chose to use drip with holes every six inches.
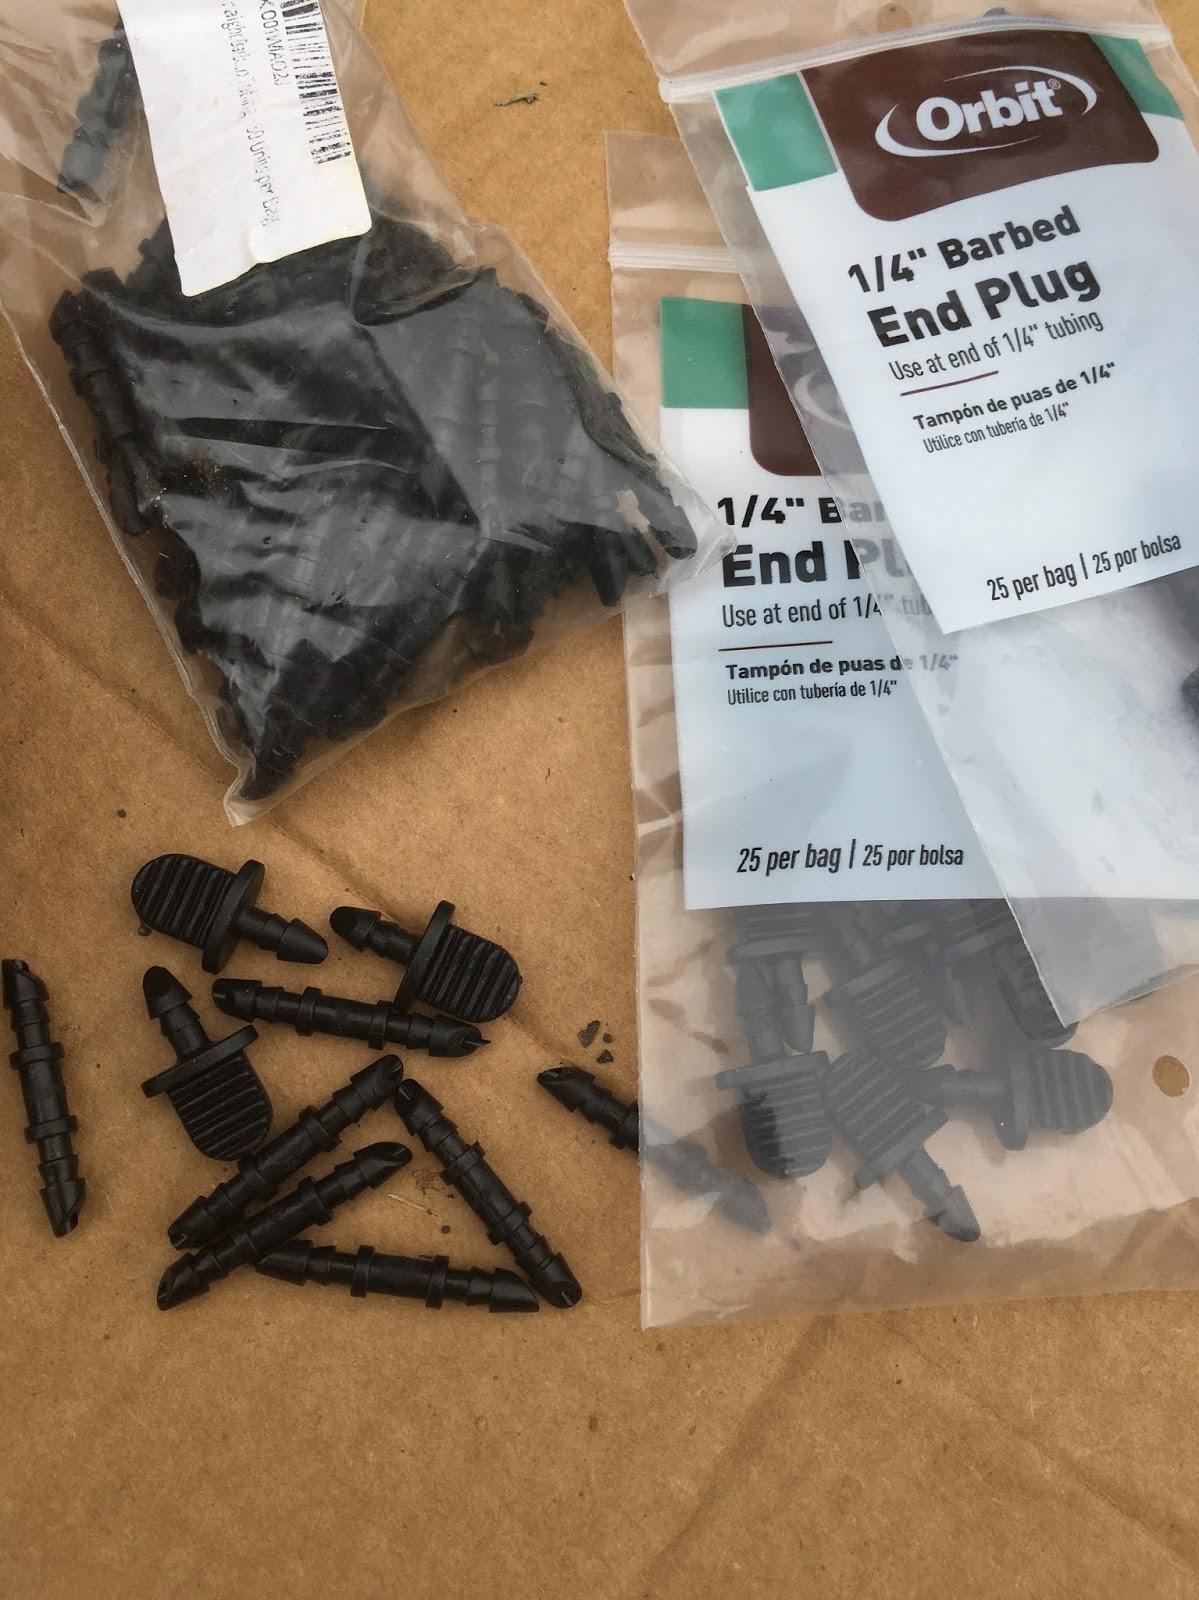

These elongated barbs connected the 1/4" drip
to the 1/2" poly and the end plugs were added to the ends of the drip.
These can be found at Home Depot or Amazon.


We were happy with the flexibility of the drip.
It worked well in a number of applications,
like along our arches,


on top of our straw bales,


as well as in our raised beds.
Using a timer,
we can adjust how long and how often the water runs.
During this springtime weather,
we have it going three times a week for an hour.
It seems to be doing the trick so far.


When installing the drip,
I used clothespins to secure it in place.
It was all I had.
The tubing was held by the clothespin,


and then I just plunged it underneath the soil.
We make do with what we've got.


Then I discovered these gems from Sandbaggy.
They fit the 1/4" tubing perfectly.
Who knew?


Now it's so easy to keep the drip in place,
no matter the application.


It's a huge sense of relief,
knowing that this enormous task is over.
It was one of those projects that seems overwhelming at first,
but was really quite easy.
In fact,
I recently helped a friend install one in her new veggie garden.
Knowing that the garden is watered properly
whether or not I'm home is a comfortable feeling.
Last week I was away on a dog-sitting job,
and I didn't have one worry about the garden.

The beauty of this system,
is that it can be reconfigured with very little effort.
No doubt we will be adding areas for growing,
and this system will easily meet our needs.
If you are thinking about adding a drip system to your garden,
I'd encourage you to do it.
You'll be so glad you did.

Friday, May 8, 2020

Garden Friday


Well, How Do,
and welcome to Garden Friday!
This is my friend Snickers,
who doesn't mind shading his eyes
while he supervises my work on Thursday afternoons.
He is one cool pup!


It's been a busy week and it gave me great satisfaction
to cross a few things off of my to-do list.
First on the agenda was to empty this trailer of mulch,
which Big K and I took care of early in the week.


This free mulch is used to convert grassy areas
to pathways around the garden.
A layer of thick cardboard is put down first,
and about 2-3" of mulch covers it up.


The garden is expanding a wee bit this year,
with plans to add a few more planting areas in the next few years.
The county landfill's mulch helps to keep grass and weeds at bay
and the price is right!


We also used the chipper to make wood chips for the interior of the garden.
We use the free stuff underneath and then use the pretty stuff on top.
I'm hoping we can get into a good rhythm of chipping each weekend,
as we have quite a few piles of limbs and twigs around the property.


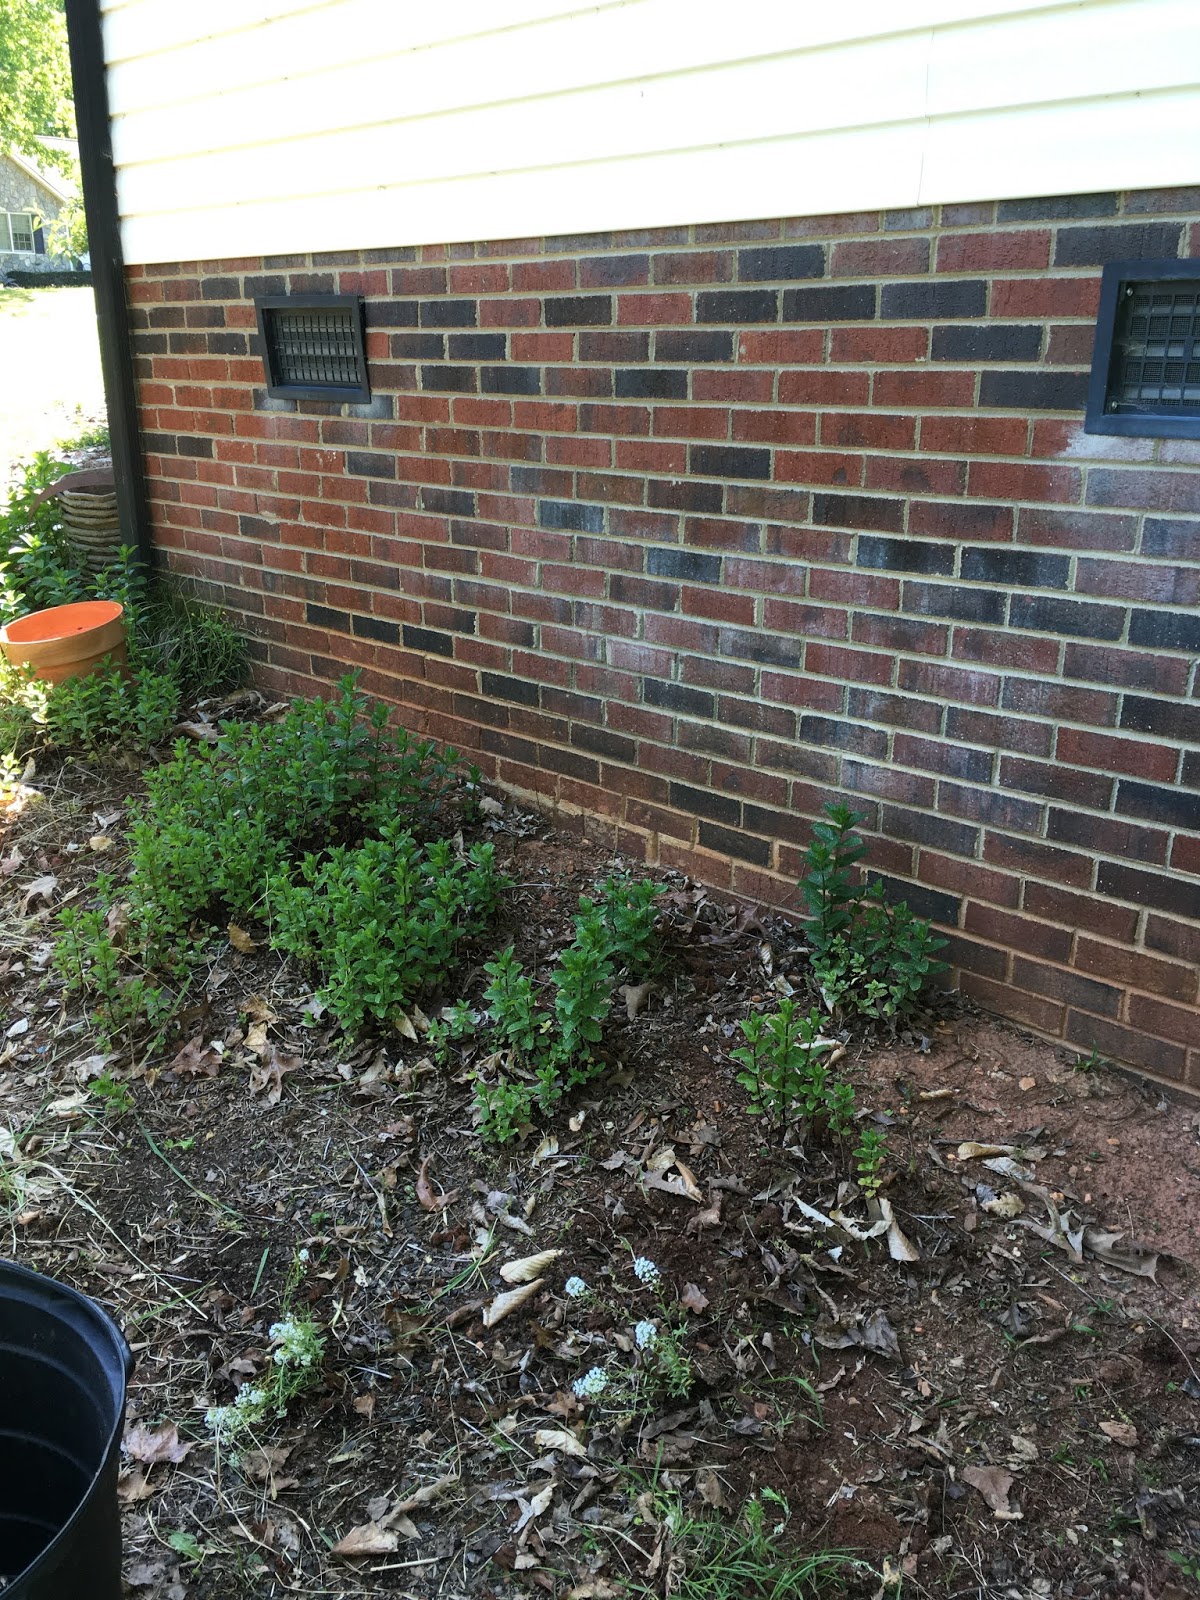
This mint patch prompted me to give this area a bit of attention.
It was here when we bought the house,
and since I know I can't really fight it,
(mint is almost impossible to eradicate),
I'm embracing this spot and adding to it.


Some of the seeds that were added to the pollinator bed
were gathered to use here.
Daisies and zinnias are some of the fastest growing flowers,
especially when conditions are favorable.


The three varieties were mixed together 
and broadcast over this section of the side yard.


Since we occasionally see deer visiting our yard,
I took pains to protect the newly planted hostas out back.


Chicken wire was either laid on top of
or used to "cage" the plants.
We'll see how it goes.


A cattle panel was placed in one of the 3X8 beds
where three different types of squash were planted.
The area in the foreground will be planted with sweet potatoes.
There should be lots of action happening on that trellis!


A handful of warm-weather crops were sown,
in hopes that the cold weather was on its way out.
Wouldn't you know that we've still had a couple of days in the high 30's?
Thankfully, these were well protected.


Two types of eggplant are being started.
While I've grown the long Japanese-type,
the Antigua variety is new to me.
I've never met an eggplant I didn't like!


We'll give these two kinds of peppers a go this season,
as I'm not much for the spicy curl-your-hair types.


A few kinds of beans have been sprouting up.
These are Pinto bush beans.
I ventured into growing drying beans for the first time last year,
and I loved the results.
Beans keep for so long in jars in the pantry,
so they are always at the ready for a filling, nutritious meal.


We got flowers, folks!
Snap peas can't be far behind.


 The irrigation system is worth its weight in gold.
I haven't had to hand water once,
and the plants are responding.
Can't wait to fill up these beds with goodies!


A work in progress, just like everything else in this life,
the garden is a source of joy, discovery and grounding.


Here's hoping this weekend finds you
healthy, doing something you love,
and surrounded by those for whom you care most.

Happy Mother's Day to all the Mommas out there!

Tuesday, May 5, 2020

Instant Mulch!


Every fall, our wonderful next door neighbor
shares her bounty of bagged leaves with us.
We also have many trees on our property,
so there is no shortage of leaves to be found.


In December, Big K found this leaf shredder on a local marketplace.
We used it to corral all of the leaf coverage on our lawn,
but this week, I decided to create a great mulch/compost blanket for the veggie beds.
It shreds the leaves wonderfully,
so that there is no concern about smothering.
It will be a yearly ritual that I look forward to completing.
(You can also use a mower to shred leaves,
running it over them a few times.)


Leaf mulch is beneficial to plants for a number of reasons.
First, it acts as an insulator, keeping the soil warmer in winter
and cooler in summer.  This gives crops better stability in growing,
as the soil temperature is more or less constant.
Another reason leaf mulch works so well is that it acts as a weed barrier.
With the soil fully covered, the weeds don't stand a chance.
If you think about a forest floor, it is always covered 
and the plants therein thrive.
It's natural for Mother Nature to be covered up.


Leaf mulch also adds nutrients to the soil as it breaks down
and helps retain moisture, so less watering is needed.
Just look how tucked in these onions look
with all of that leaf mulch snuggling up to them.
Whenever we run our irrigation, or are blessed with a good soaking,
the moisture can be enjoyed by the plants' roots for a good, long time.


There were a few bags with pine needles mixed in with the leaves.
Not to worry, they were the perfect candidate for our blueberry bushes,
which need acidic soil in which to grow.
Last year I added pine straw around our three bushes,
but this year, I think this will do just fine.

It's a beautiful thing when Mother Nature provides the garden
with just what it needs.
Grateful for our slice o' heaven.

Friday, May 1, 2020

Garden Friday


Happy May Day!


 Welcome to soggy Garden Friday.
We were blessed with almost 4 inches of rain
on Wednesday night, with a little more yesterday.
The garden loves those raindrops, 
                                            every 
                                                      single 
                                                              one.

bush beans planted in straw bales

 Wouldn't you know that as soon as we got our irrigation system
up and running, the rains came?
This is me not complaining!
We finally got our act together and acquired all of the compatible parts
to put together a cohesive, working system.
It will be so worth the effort,
and save me a ton of time on watering.


We may need to tweak things a bit,
we will be testing out how efficient it is in the next week or two.
The onions in this 3X8 bed seem to be quite content.


The Yukon Gold potatoes that share the bed
are growing taller every passing day.
I'm hoping we'll have enough to share.


 The asparagus is a first time plant for me
and I have a lot to learn.
One key element to successful growing of this perennial,
is to keep the area surrounding it free from weeds.
Asparagus doesn't like to compete for nutrients in the soil.


The temperature seems to be just right for the beets.
They've started putting on more leaves and growth overall.


 A sampling of the leaves helped me decide that
I need to remember to harvest these for my daily salad.
They have such good flavor and the texture is almost creamy.
It's wonderful to be able to once again graze in the garden.


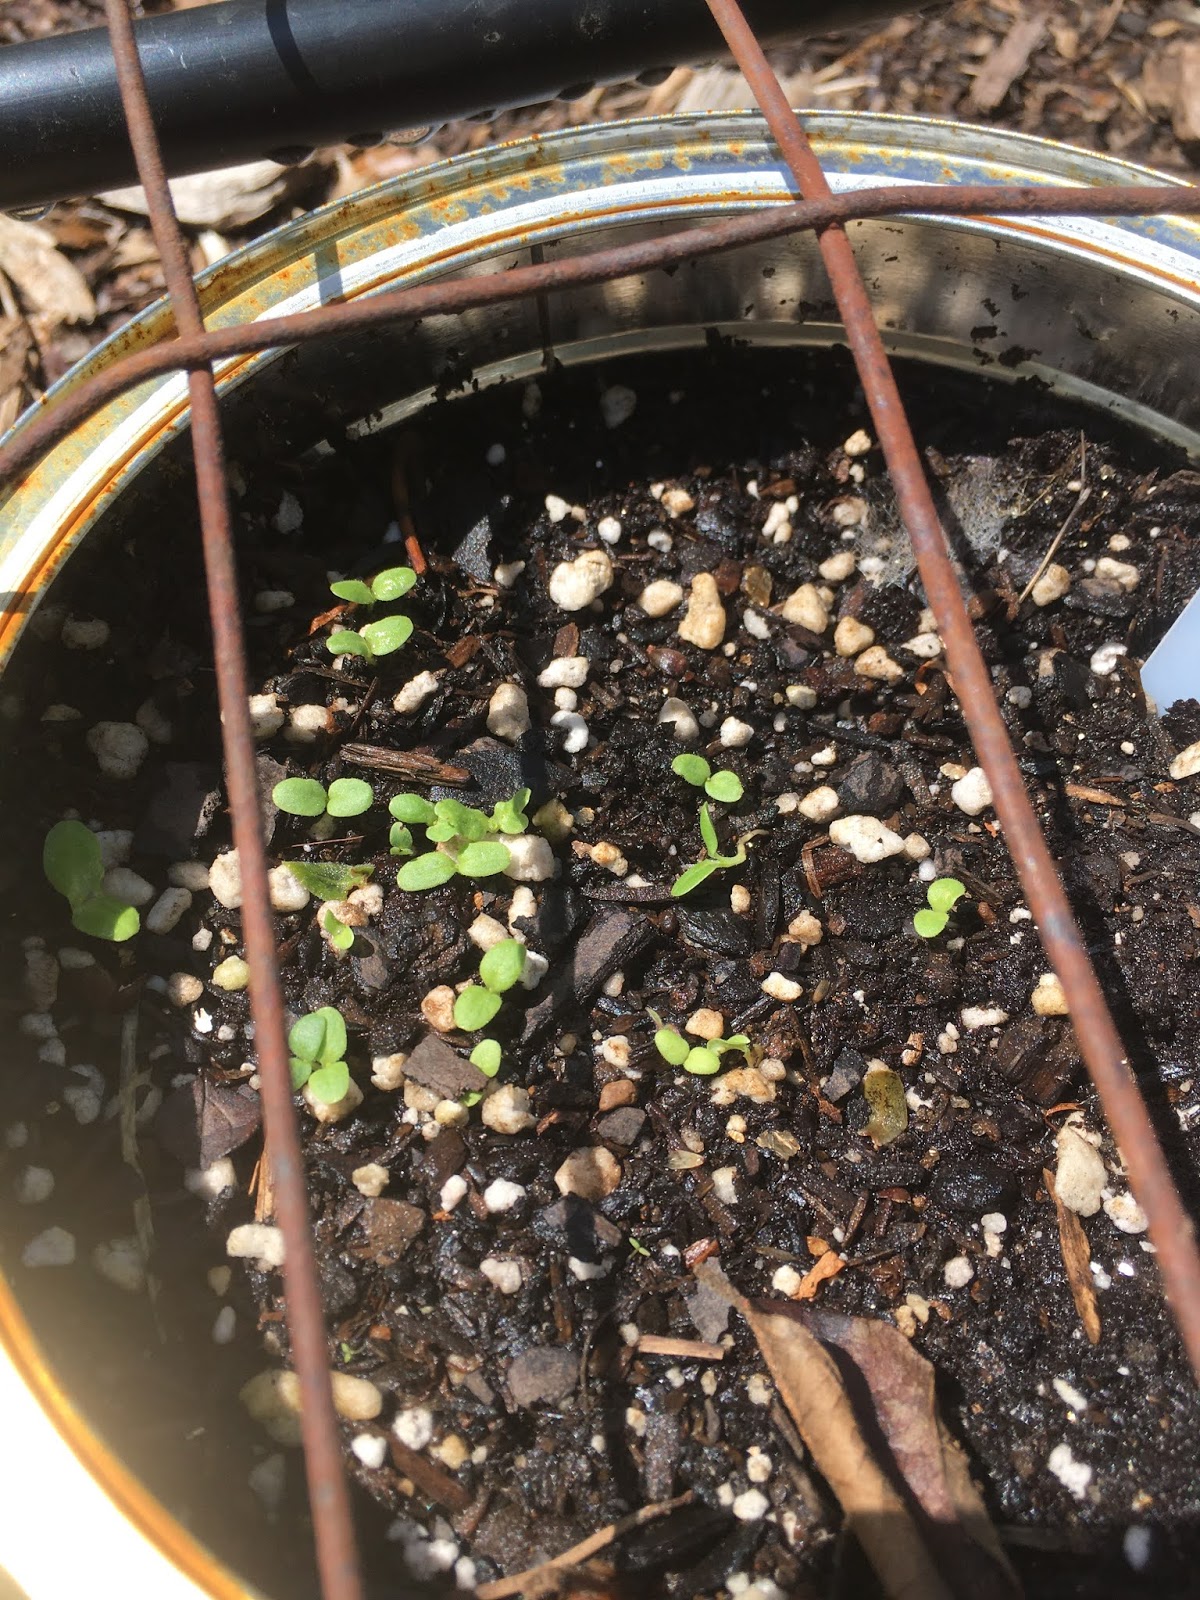
 I was shocked to see how much the lettuces had grown
in their coffee can homes.


By next week, I hope to be able to harvest some baby greens.
 

more lettuce on the way!


 These strawberries are from last year and had been planted in a straw bale.
Unfortunately, I had to move them into a tub
because I was reconfiguring the garden to accommodate the drip hoses,
but so far, they seem to be doing just fine.


 Looks like the makings for some pickles may be in the offing.
Last year, the only variety I had any success with was White Wonder.
It was probably "gardener error",
but I was glad to see these coming up.


One of my tasks this week was to screen my red wigglers.
This requires me to take the worms out of the bin,
and leave the castings in a separate container.
There is still some shredded paper in the mix,
but it will decompose over time.
The castings are used as is, or by making a tea with them,
and fertilizing the veggie beds with it.
Here's where we made our worm bin.


One of our trips away from home this week
was to collect mulch from our local landfill.
This shredded mulch is available to county residents
and they load up your truck or trailer for free.
Guess what I'll be doing this weekend?


 There are a few areas that I'm working on
covering with cardboard (to deter weeds)
and then placing the free mulch over the top.
This method works great for walkways.


 A neighbor let me have this cute lil' cedar tree
that was in the way of her veggie bed.
Another neighbor gifted me with this liriope
that I used to surround the tree.
We have very generous neighbors.
Slowly, plants are being added to the perimeter of the property.
After all, it can't be about veggies all the time!


A neighbor on the next block has this gorgeous 
false indigo blooming in his front yard.
Actually, he has two.
A friend gave me a great idea to ask him for some seed pods
so we can both get us some of the yellow variety.
Works for me!

What's happening in your spring garden?